I accidentally deleted some important files and then emptied the Recycle Bin on my Windows PC. I need help finding the safest way to recover deleted files from the Recycle Bin without overwriting anything or making recovery harder.
If you emptied the Recycle Bin and then realized you needed something from it, don’t keep using that drive if you can avoid it. Deleted files are often recoverable for a while because Windows usually just removes the file entry and marks that space as available. Once new data gets written over it, though, recovery gets a lot less likely.
Start by checking the Recycle Bin again anyway. Look for the file name, but also search for the folder it originally came from. Sometimes the file was inside a deleted folder and is easier to spot that way. If you find it, right-click it and choose Restore.
If it’s definitely gone from the Recycle Bin, stop saving things to that drive. Don’t install recovery tools there, don’t download files to it, and don’t create or copy new documents onto it. Even normal Windows activity can reuse the space where the deleted file was sitting.
Next, check whether Windows has an older backup. Go to the folder where the file used to be, right-click it, and choose Restore previous versions. If there’s a version from before the deletion, open it and copy the file back.
You can also get to File History here:
Control Panel > System and Security > File History > Restore personal files
Use the arrows to move through older backup dates, then restore the file you need if it shows up.
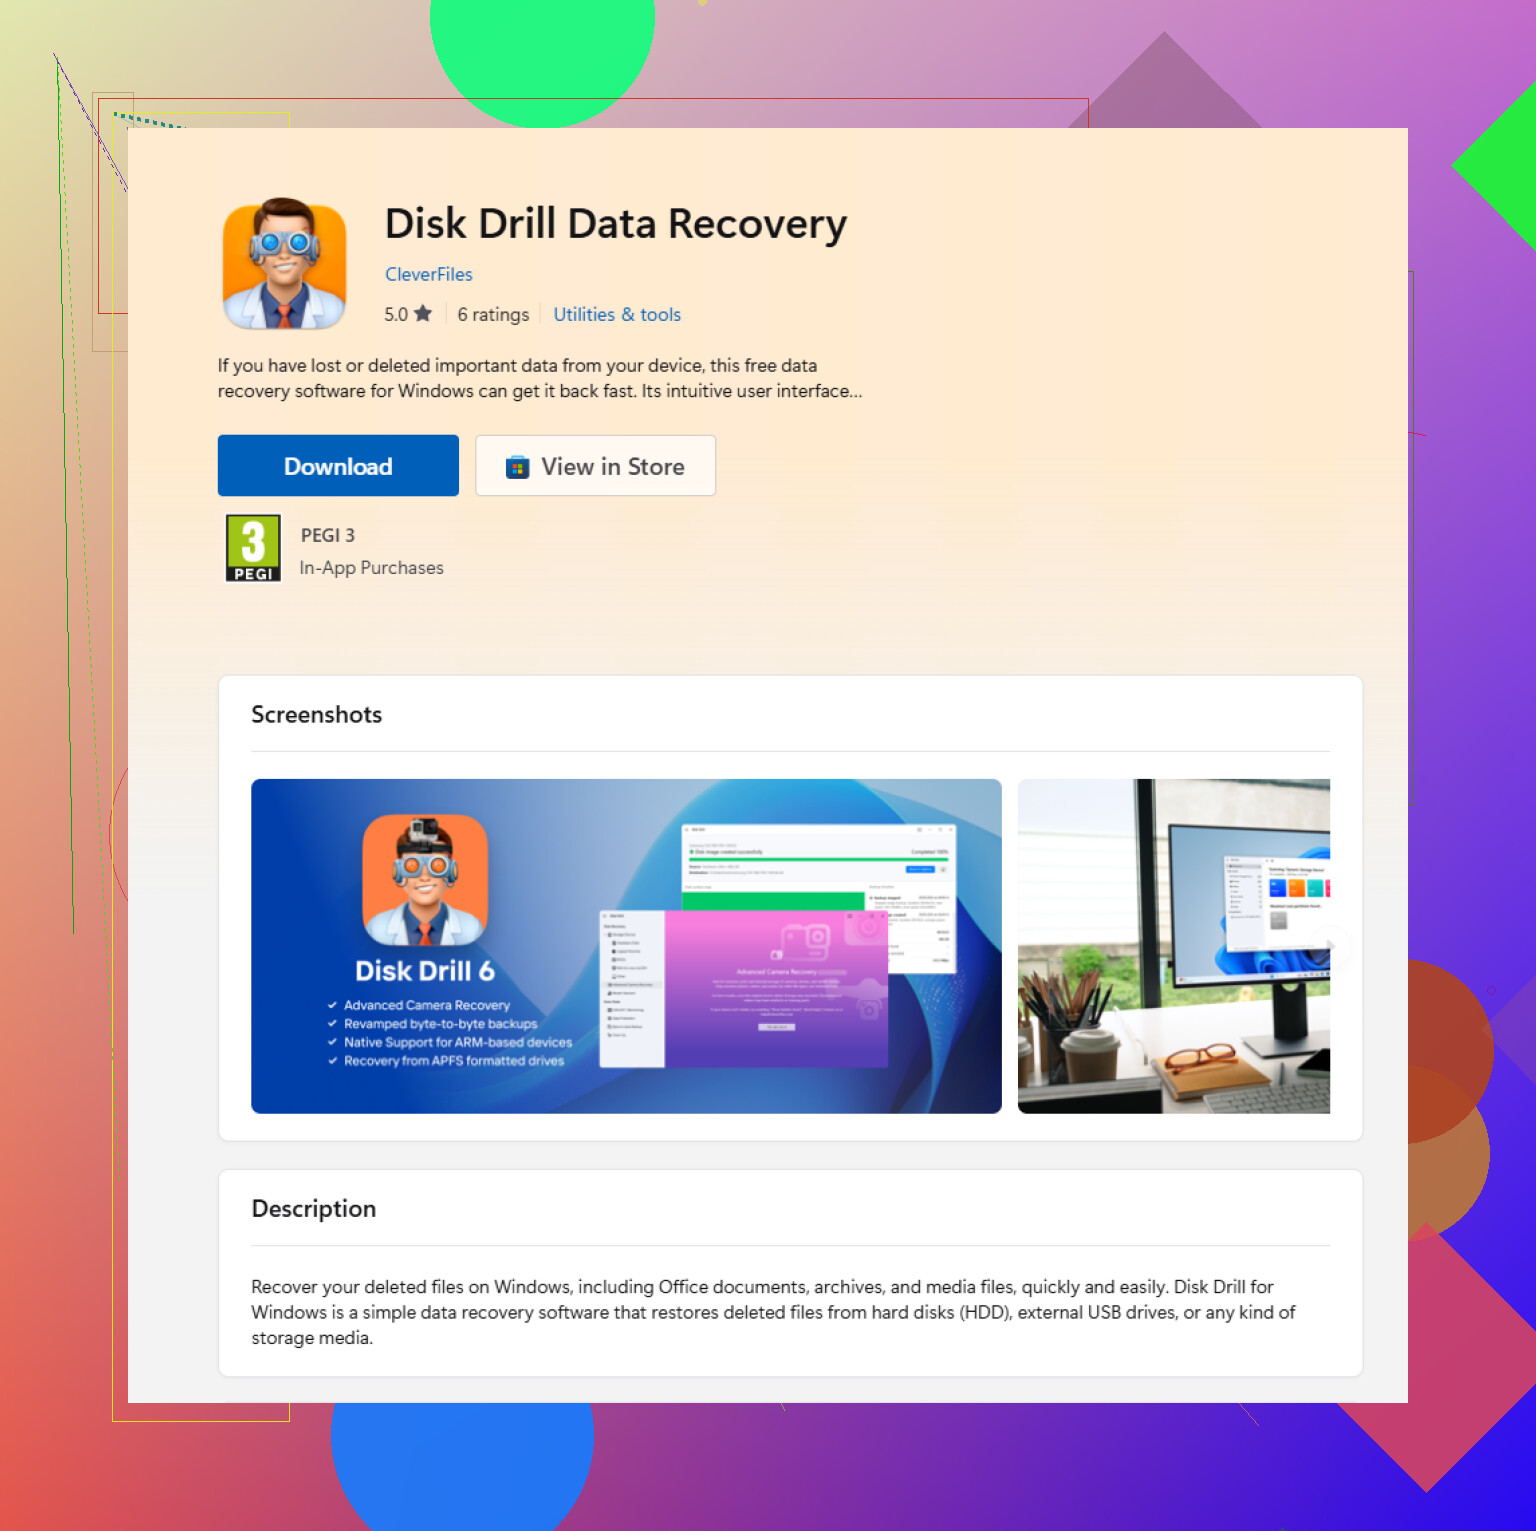
If there’s no backup, your next option is recovery software. A tool like Disk Drill can scan the drive for deleted files that Windows no longer shows.
The general process is:
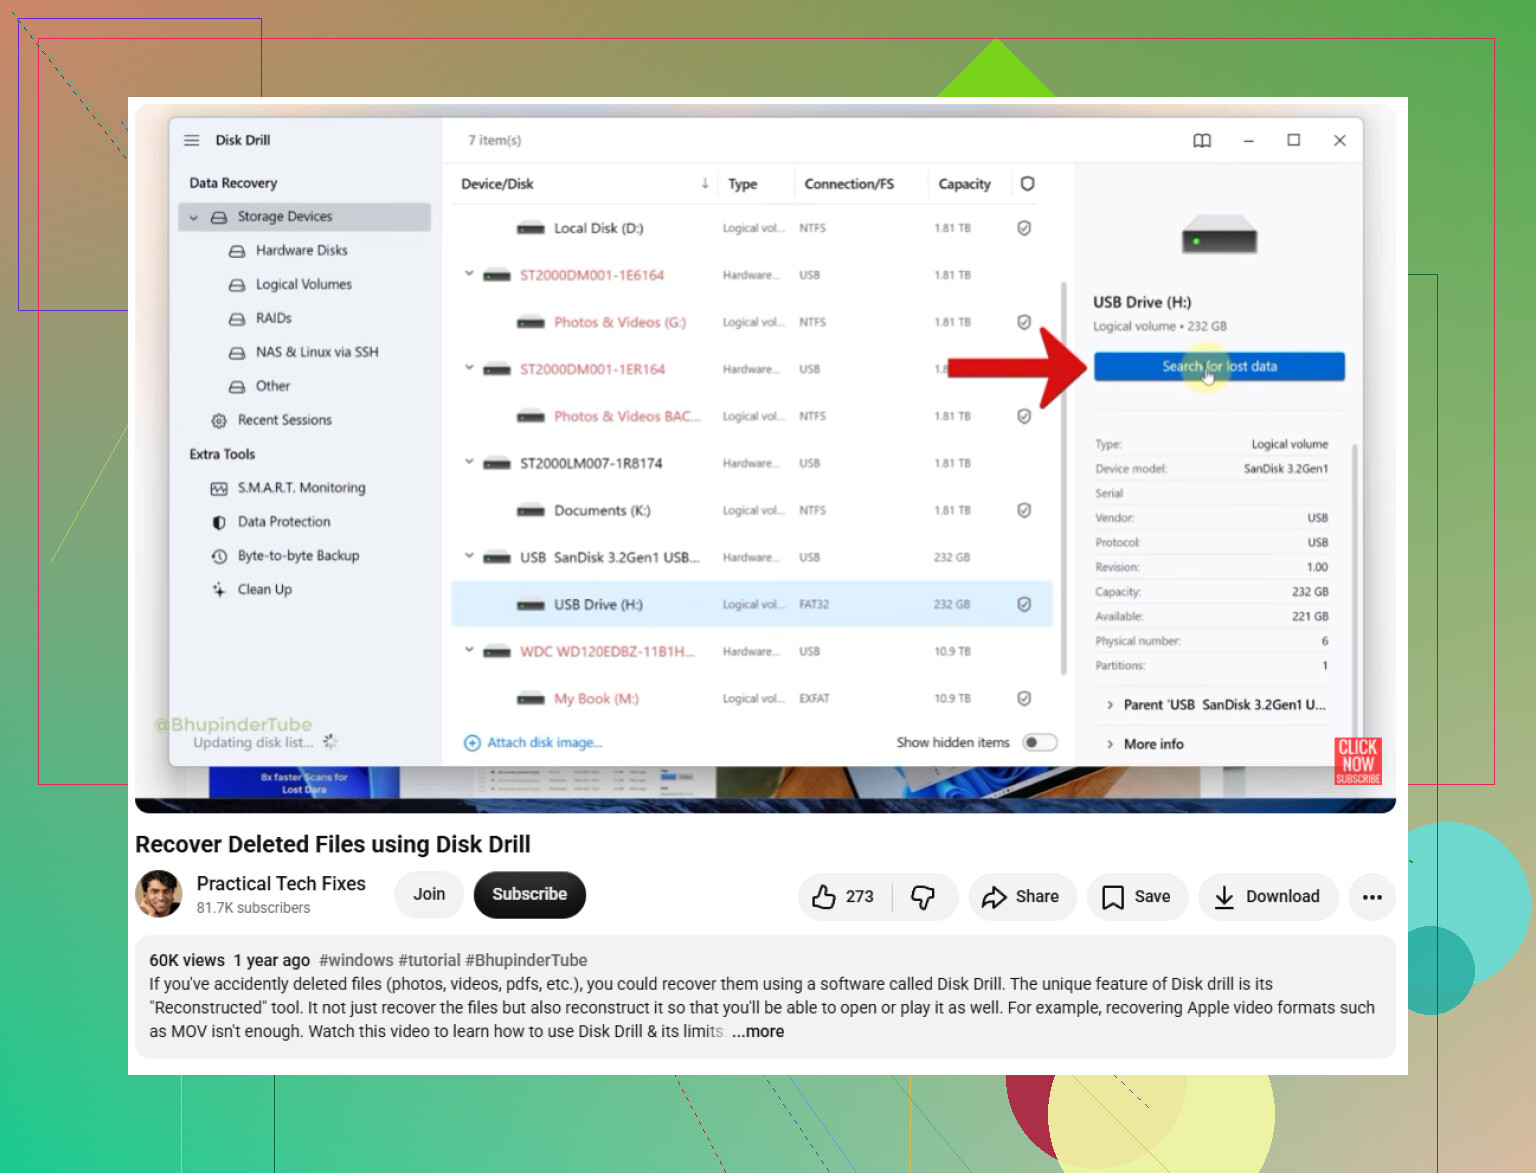
- Install the recovery app on a different drive, not the one the file was deleted from.
- Choose the drive that had the deleted file.
- Run the Search for lost data scan.
- Review the results and preview files where possible.
- Recover the files you want to another drive.
A deep scan can sometimes find data even if the original file name or folder path is gone. Preview is useful because it tells you whether the file still looks readable, but you should still open and check the recovered copy afterward.
Disk Drill may include a limited amount of free recovery on Windows, but that limit can change. Check the app or the official site for the current allowance.
One more thing: SSDs are a different story. If the deleted file was on an SSD, TRIM may have already cleared the underlying data blocks. When that happens, recovery tools may find nothing useful to restore.
So the short version is: stop using the drive, check backups, then scan from another drive if needed. The sooner you do it, the better your chances usually are.
8 Likes
Do not recover anything back to the same drive. That is the mistake people make after running a scan, and it can overwrite the exact files they are trying to save. If this was your C: drive, the safest cheap move is to shut the PC down, plug that drive into another computer, and scan it from there. If you can’t do that, run a portable/recovery tool from a USB drive and save recovered files to a different USB or external drive. Disk Drill is fine for scanning and previewing, but don’t buy anything until it actually shows your files in usable condition. If the files were synced with OneDrive, Google Drive, Dropbox, or an email attachment, check those trash/version history areas too, because that is often faster than file carving from a half-used Windows drive.
Don’t run cleanup, chkdsk, defrag, “repair” tools, or anything that promises to optimize the disk before you’ve copied off what you can. Those are the kinds of fixes people try because they sound harmless, but they write to the drive and can make recovery worse.
I agree with the earlier advice about not restoring to the same drive, but I’d take it a step further if the files matter a lot: don’t scan the original drive over and over with five different tools. Every boot, browser download, temp file, update, thumbnail cache, and recovery attempt is another chance for Windows to reuse the deleted space.
If this is your main Windows drive, the safest order is more like this:
- Shut the machine down.
- Remove the drive if you can, or boot from a USB environment if you know how.
- Copy or image the drive to another drive first, if the data is important enough.
- Run recovery against the copy/image when possible.
- Save recovered files to a totally separate disk.
That “image first” part is the thing people skip because it feels like extra work. For a few family photos, maybe it’s not worth the hassle. For business files, tax documents, school work, client stuff, etc., it is. Scanning the image means you still have the original in the same condition if the first tool gives bad results.
If you are going to try software directly, Disk Drill is fine as a first pass because the preview feature can tell you whether the file is actually readable before you waste time recovering junk. Just don’t install it onto the drive you’re trying to recover from. Put the program on another disk or use another computer. Same rule for the recovered files: external drive, second internal drive, large USB stick, anything except the original location.
A cheaper route is to check boring sources before paying for recovery software. Look at OneDrive’s recycle bin, Dropbox deleted files, Google Drive trash, email attachments, browser downloads, Windows File History, phone backups, and old USB drives. People sometimes spend hours carving corrupted fragments when the same document is sitting in an email thread from last week.
Be realistic about SSDs too. If the deleted files were on a modern SSD and Windows had time to run TRIM, recovery software may show file names but the contents can be gone or full of zeros. That’s not the software failing. That’s the drive being told the deleted blocks are no longer needed. On an old spinning hard drive, your odds are usually better as long as the space hasn’t been reused.
If the drive is BitLocker encrypted, don’t forget that recovery tools may need to scan the unlocked volume, not just the raw encrypted disk. Make sure you have the BitLocker recovery key before moving the drive around or booting from other media, because locking yourself out while trying to recover deleted files is a very annoying way to make the problem bigger.
For the actual recovery attempt, I’d do it in this order: check cloud/backups first, then previous versions/File History, then one careful scan from another drive, then decide whether the previewed files are worth recovering. If the missing files are worth serious money or can’t be recreated, stop experimenting and talk to a data recovery shop before the drive gets more use.
Leaving the PC idle at the desktop can still write to the same drive, especially if it is the Windows drive. Indexing, browser caches, updates, antivirus logs, thumbnails, and sync clients do not wait for you to “do something.” So if the files are important, I’d stop treating the machine like it is paused just because you are not clicking around.
Before running any recovery scan, make sure you know where the files actually lived. The Recycle Bin is not one magic place for every disk. If the files were deleted from D:, an external drive, an SD card, or a synced folder, you need to recover from that original location, not just scan C:. Network shares often bypass the Recycle Bin entirely, and some USB/external drive deletions behave differently depending on settings. That detail can save you from wasting hours scanning the wrong disk.
I agree with the others about not restoring to the same drive. If you use Disk Drill or any other recovery tool, use it mostly as a read-only search and preview step first. Don’t get excited just because a filename appears. Open the preview if available, recover a small sample to another drive, then check that the file actually opens and has the right contents. A recovered Word document with the right name but garbage inside is not really recovered, and it is better to find that out before you spend a bunch of time recovering a whole folder tree.