I accidentally deleted some important files from an APFS-formatted Mac drive and emptied the Trash before realizing it. I’m trying to find the safest way to recover deleted APFS files without overwriting anything or making the data loss worse. What recovery steps or tools should I try first?
Stop using the APFS drive right away. That matters more than which recovery app you pick. Emptying the Trash usually doesn’t erase the actual file contents instantly, but anything new written to that disk can overwrite the deleted data and make recovery harder or impossible.
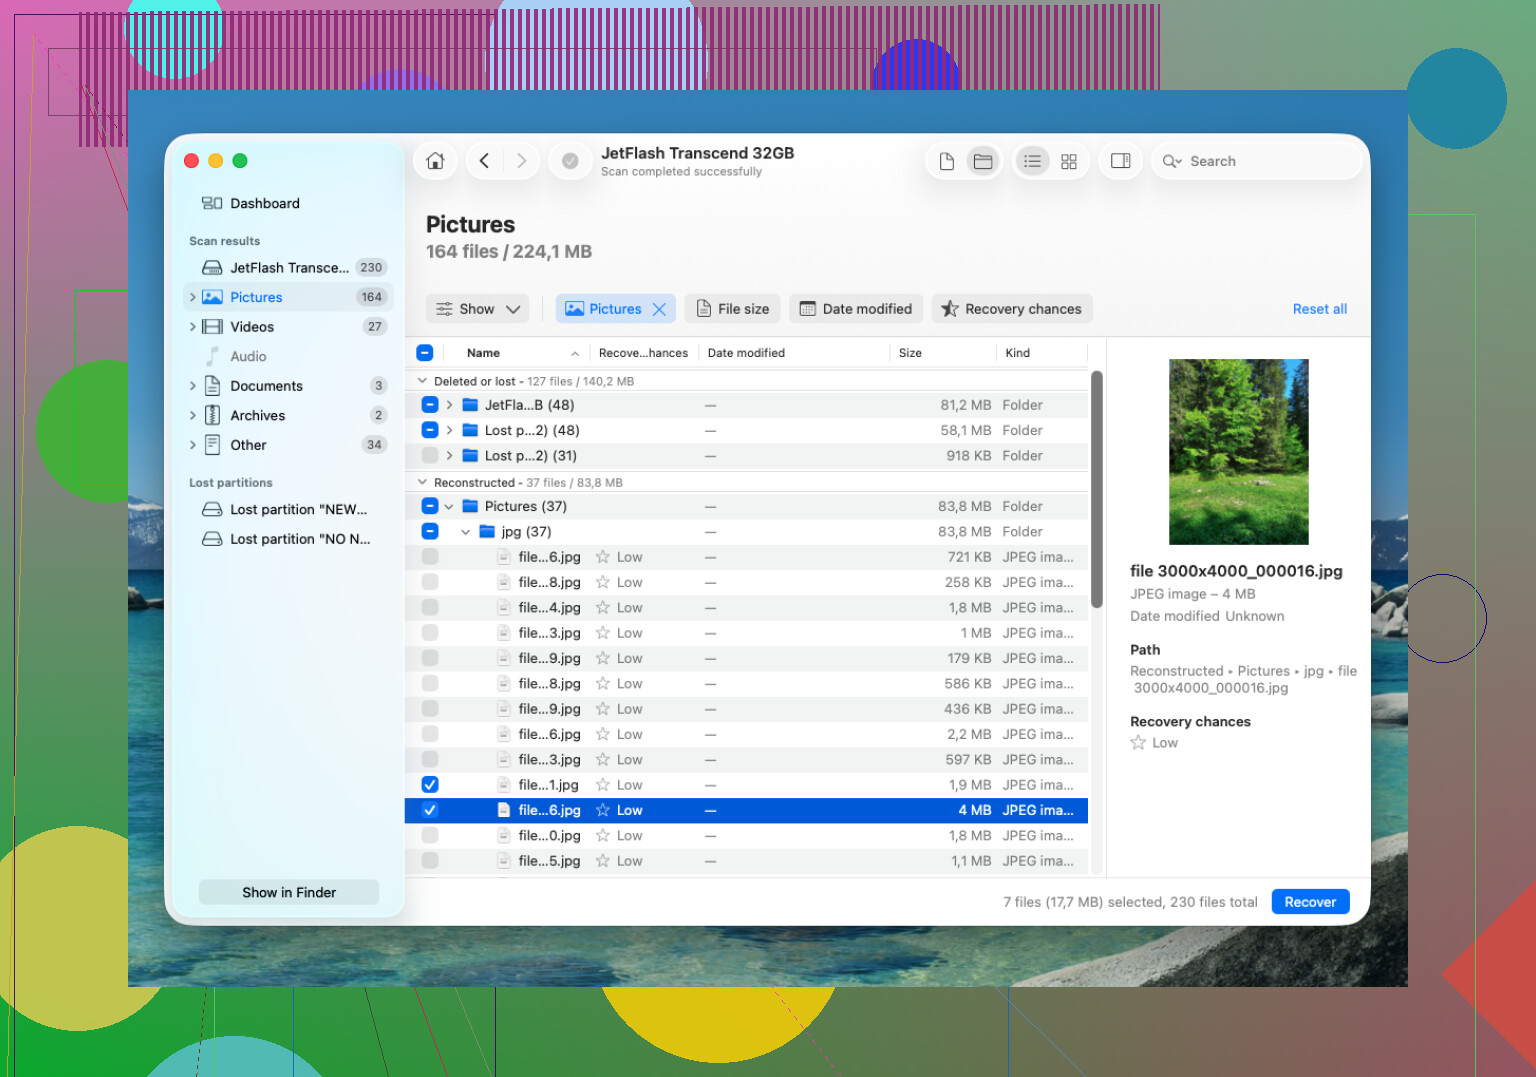
For APFS recovery, Disk Drill is worth trying first. It handles APFS better than a lot of older recovery tools, and when it works, it may keep the original file names and folder layout instead of giving you a giant pile of random files.
The basic approach would be:
- Install Disk Drill somewhere else, not on the APFS drive you’re trying to recover from.
- Connect the external APFS drive to your Mac. If the missing files were on the internal drive, give Disk Drill Full Disk Access when macOS asks for it.
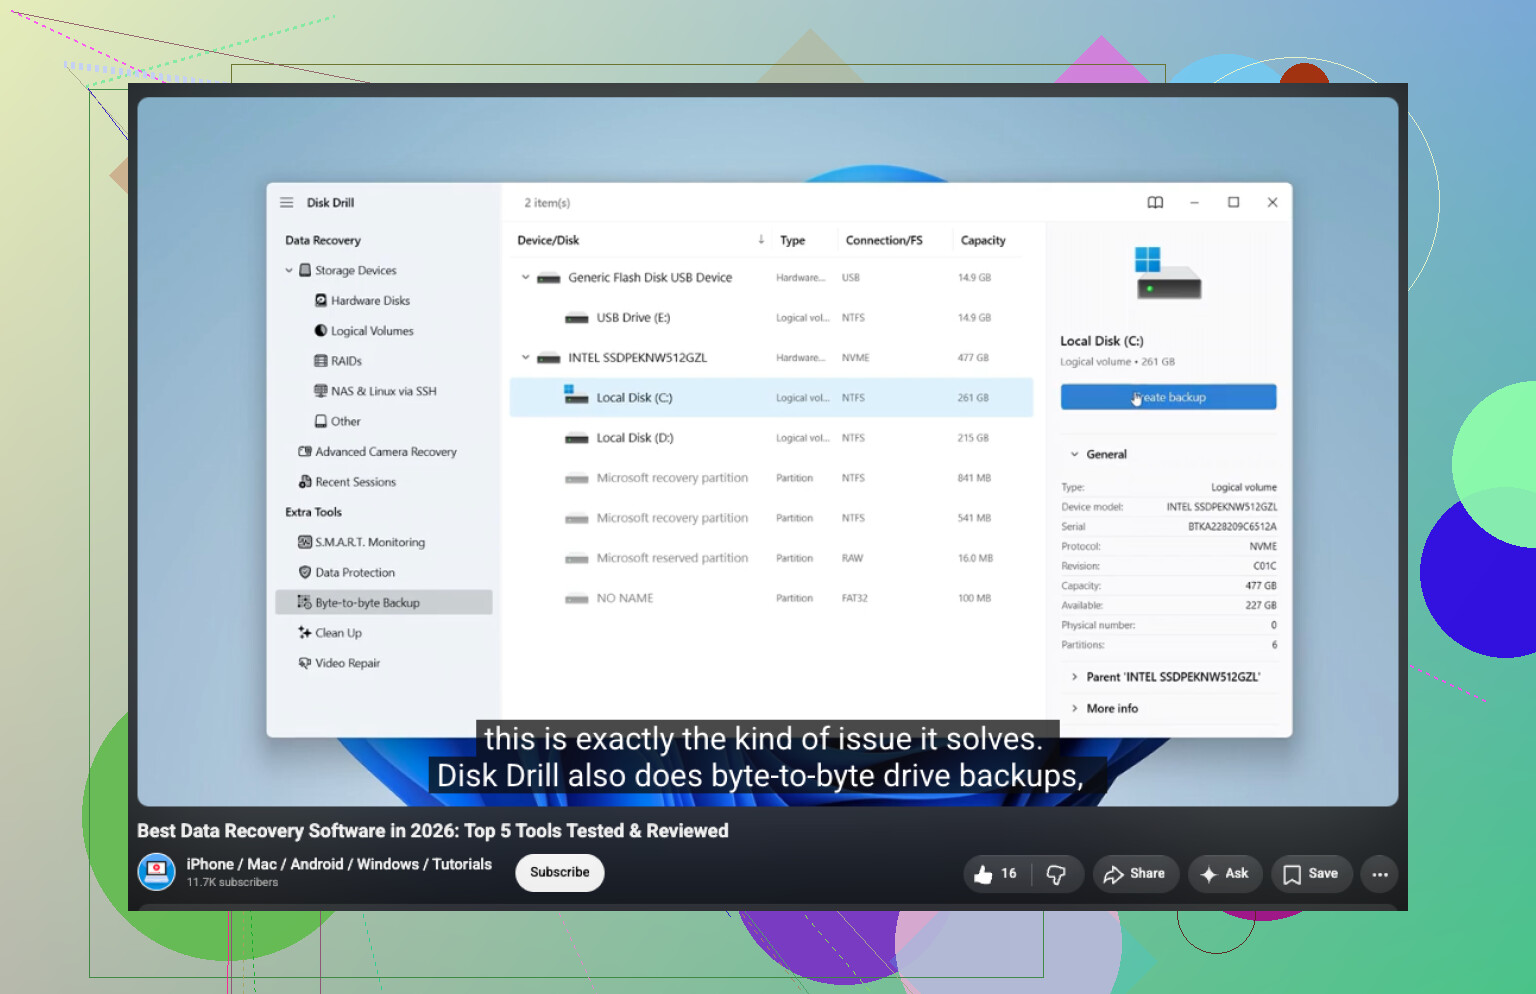
- Choose the APFS volume and click Search for Lost Data.
- Let the scan run all the way through. Bigger drives can take a while, but stopping early can mean missing files that show up later in the scan.
- Preview anything important before recovering it, especially photos, videos, and documents.
- Recover the files to a different drive. Don’t save them back onto the same APFS disk.
If you have a Time Machine backup, check that first. Also look for APFS snapshots, since macOS may have local snapshots available even if the backup disk wasn’t plugged in at the time. If there’s a usable snapshot, that’s usually cleaner than running recovery software.
The big catch is TRIM on SSDs. If the deleted files were on an SSD, the system may clear those deleted blocks in the background. Once that happens, recovery tools can’t bring the files back. That’s why shutting down or avoiding use of the Mac/SSD quickly matters. Regular external HDDs usually give you better odds because they don’t work the same way.
If Disk Drill doesn’t turn up what you need, PhotoRec is another route. It’s free, but it doesn’t really rebuild the APFS folder structure. It looks for file signatures, so recovered files often come back without the original names or folders. Still, if the files matter more than the organization, it can be useful.
One more thing: if the drive is clicking, dropping connection, or only showing up sometimes, don’t keep scanning it. That can make a physical problem worse. At that point, a data recovery lab is the safer move. Many do free evaluations and “no data, no fee” cases, but costs can range from around $300 to well over $1,000 depending on whether it’s simple deletion or actual hardware damage. For a healthy drive with an accidental deletion, though, software is the first thing I’d try.
11 Likes
Do not run First Aid, repair tools, or “cleanup” utilities on that APFS drive before recovery. Those can change the file system metadata, and with APFS that may be the difference between seeing the original file record and only being able to carve unnamed fragments.
I agree with @mikeappsreviewer about stopping writes and recovering to another disk, but I’d take one step before scanning if the files are really important: make a byte-for-byte image or clone of the drive, then scan the image instead of the original. It’s slower and you need another drive with enough free space, but it gives you a safer fallback if the first scan doesn’t find what you need or the drive starts acting weird. Some recovery apps can create an image themselves, or you can use a separate cloning tool if you’re comfortable with that.
Small APFS-specific annoyance: make sure you’re scanning the correct APFS volume, usually the “Data” volume, not just the container name that looks right in Disk Utility. If FileVault was enabled, the recovery tool will need the password or recovery key to see meaningful file names and contents. Disk Drill is fine to try for this kind of deleted-file case, but don’t judge the result only by the first quick scan. Let it finish the deeper scan, preview the files, and only then decide whether software recovery is enough or whether the data is worth sending out.
An internal Mac SSD and an external APFS hard drive are not the same recovery situation. If this was an external drive, unplug it and work from another disk. If this was your Mac’s boot drive, every normal boot can write logs, caches, swap files, browser data, Spotlight stuff, and who knows what else onto the same volume you’re trying to recover from.
That’s the part people underestimate. “I’m not saving anything to it” does not mean macOS is not writing to it.
For an internal drive, I would stop using that Mac as the working machine. Shut it down. If you have another Mac available, connect the affected Mac in Target Disk Mode or Share Disk mode and scan it from the other machine. If you don’t, boot from an external macOS drive if you already have one. I would not spend an hour downloading recovery apps, installing them, granting permissions, browsing help pages, and making screenshots on the same Mac where the deleted files lived. That activity can be enough to reduce your odds, especially on an SSD.
I agree with @waldgeist on imaging the drive if the data really matters, but I’d be realistic about it too. Imaging a large APFS disk takes space, time, and a second healthy drive. If the missing files are irreplaceable work files, do it. If they are a few downloads you can maybe replace, scanning the original may be a reasonable risk. The “best” method and the “practical” method are not always the same.
Before paying for any recovery tool, check the boring places first:
- iCloud Drive on the web, especially Recently Deleted
- Dropbox, OneDrive, Google Drive, etc. if the folder was synced
- the app’s own recent/version history, for example Office, Pages, Photoshop, Logic, Final Cut
- email attachments or Messages if the files were ever sent
- Time Machine, including local snapshots if available
This sounds obvious, but cloud trash/version history is often cleaner than APFS undelete. You get the real file name, folder, and last version without waiting through a deep scan.
For Disk Drill or any similar app, do not treat “found 80,000 files” as success. That number can include cache junk, partial files, old thumbnails, and carved fragments with useless names. The real test is whether it can preview the exact files you need. If it can’t preview a document, photo, archive, or video correctly, recovering it usually won’t magically fix it.
I’d use recovery software in this order of judgment:
First, can it see the original folder path and file names?
Second, can it preview the important files?
Third, are the file sizes believable?
Fourth, are the recovered files being saved to a different physical disk?
If the answer to the second question is no, slow down before buying anything. A scan result full of filenames is tempting, but APFS recovery can look better in the results list than it is after recovery.
Another small trap: don’t recover to a different partition on the same physical drive. Use another actual disk. A USB stick is fine for small documents if it has enough space and is reliable. For lots of photos or video, use a real external drive.
If the files were on an SSD with TRIM already processed, software probably won’t get much back. That is not a Disk Drill problem or a PhotoRec problem. The data may simply no longer be there in a usable form. If it was an external spinning hard drive, the odds are usually less grim, assuming nothing has been written since the deletion.
So my short version would be: stop booting or writing to the affected volume, check cloud/app/version history first, then scan from another Mac or external boot environment, and only recover files that preview correctly to a separate physical drive. If the files are worth more than the cost of a lab, don’t keep experimenting after the first careful scan.