I accidentally deleted important files on my Mac and then realized I never set up Time Machine. I’ve already checked the Trash and searched for recent backups, but I still can’t find them. I really need these documents back for work, so I’m looking for the safest way to recover deleted files on a Mac without Time Machine.
I ran into this once on my Mac, and yeah, emptying Trash feels awful for about 10 seconds. Still, it does not always mean the files are gone for good. The part people mess up is keeping the Mac in regular use after it happens. On SSD-based Macs, deleted space gets reused fast. Once macOS writes over those blocks, recovery drops off hard.
I’d go through it in this order.
1. Check Time Machine and iCloud first
This is the quickest path when it works.
- Open the folder where the file used to live.
- Enter Time Machine and move back to a backup from before you emptied Trash.
- Restore the file.
- Then sign in to https://iCloud.com and check Recently Deleted for files or photos.
If you had either service doing its job, recovery takes minutes, not hours.
2. Check for APFS snapshots
A lot of Mac users miss this one. macOS often keeps local APFS snapshots on its own, even on systems without a full Time Machine routine. I’d open Disk Utility, pick the APFS Data volume, and see whether snapshots exist from before the deletion. If one does, your files might still be sitting there.
3. Try recovery software
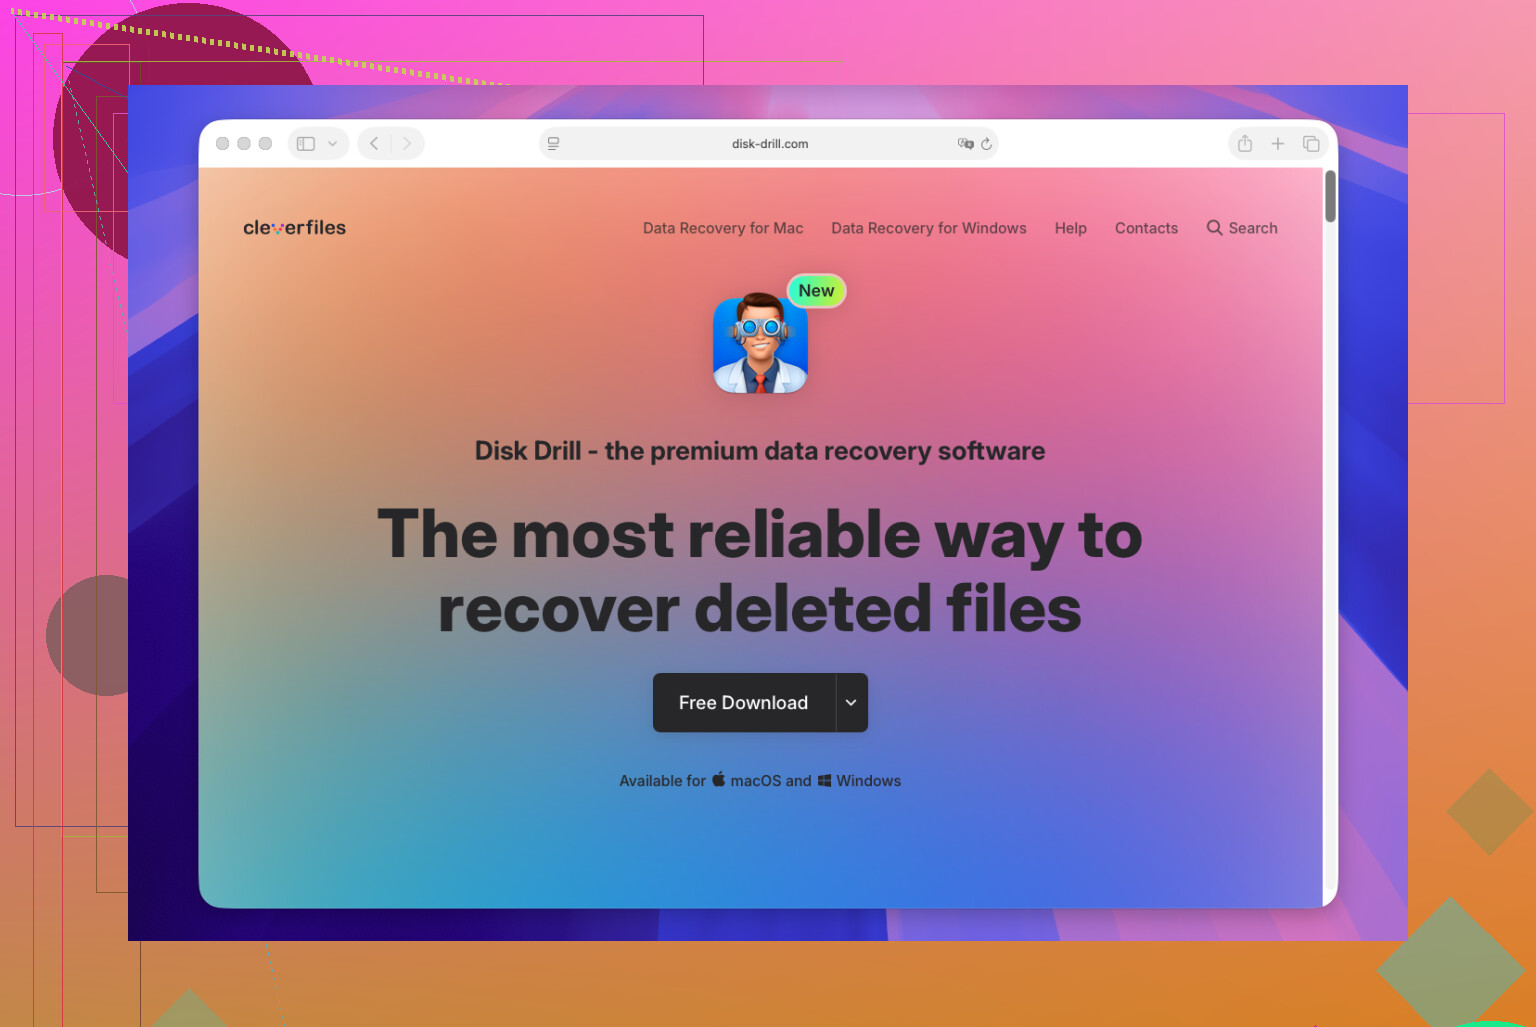
If backups turn up nothing, I’d move here fast. Disk Drill is usually the easiest option for most people on newer Macs, including Apple Silicon. The steps are pretty plain:
- Install the app.
- Select the drive where the deleted files were stored.
- Run a scan.
- Preview what it finds.
- Recover to a different drive if you have one.
There are free tools, like PhotoRec, and I’ve used stuff like that before. It works, sort of. The mess is the output. You often get files back with missing names, no folder layout, and a pile of sorting work after.
One more thing, SSDs use TRIM. This matters. TRIM helps wipe deleted data faster than old spinning drives ever did. So time matters a lot here. If you keep using the Mac, install random apps, download stuff, or copy files around, you make recovery worse. fast.
I’d check Time Machine and iCloud first. If those come up empty, start a recovery scan right away. I’ve seen people get files back even after emptying Trash, mostly when they stopped using the Mac imediately and dealt with recovery first.
2 Likes
Stop using the Mac right now. That matters more than anything else. Every new write cuts recovery odds, espeically on SSDs.
I slightly disagree with @mikeappsreviewer on one point. I would not spend much time poking around Disk Utility first if the files matter a lot. More clicks, more writes, more risk. Keep it short and move to recovery from another drive.
What I’d do.
- If the files were in iCloud Drive, check iCloud Drive on the web, not only Recently Deleted. Sometimes docs still show up there.
- Check app-specific recovery. Pages, Word, Excel, Adobe, and Notes often keep auto-save, temp, or version history copies.
- Look in these folders:
~/Library/Containers
~/Library/Autosave Information
/private/var/folders
Open Finder, Go, Go to Folder. - If the docs were emailed or messaged before, search Mail, Messages, Slack, Discord, or Teams for attachments.
- If FileVault was on and the Mac has been used a lot since deletion, your odds drop fast. SSD + TRIM is brutal.
If you need file recovery software, Disk Drill is the first tool I’d try on Mac. Install it to an external drive if possible, scan the internal drive, and recover files to a different disk. That part is imporant. Do not restore back onto the same Mac volume.
If you want a visual walkthrough, this Mac deleted file recovery video is useful:
step by step guide to recover deleted files on Mac
If these are work docs and worth money, shut the Mac down and hand it to a data recovery shop. DIY is fine until the files are worth more than the service fee.

One angle neither @mikeappsreviewer nor @cacadordeestrelas really leaned on enough is app-level versioning. On macOS, some docs are not truly “gone” even when the file is. Right click the parent folder or reopen the app that created it and check stuff like Browse All Versions, Recent, Recovered Files, or AutoRecovery panes. Microsoft apps in particular can be sneaky about keeping temp copies.
Also check Spotlight privacy settings. Sounds weird, but I’ve seen files “missing” because the folder got excluded from indexing, then people assume deletion. Use Terminal too:
mdfind 'filename'
and
find ~/ -name '*part_of_filename*' 2>/dev/null
I kinda disagree with going too deep into temp folders manually unless you know what you’re looking at. It turns into digital dumpster diving real fast.
If the files are truly deleted, use Disk Drill, but do it carefully. Better move the Mac into as close to read-only behavior as you can, then scan and recover to external storage only. If the docs matter, this is also worth reading: best Mac hard drive file recovery software discussion
Short version: app history first, Terminal search second, recovery scan third. And yeah, stop using the machine. Like, serioiusly stop.
One extra angle I’d add to what @cacadordeestrelas, @vrijheidsvogel, and @mikeappsreviewer covered: check whether the files were ever inside a synced app folder other than iCloud. Dropbox, OneDrive, Google Drive, Box, even Notion exports can keep deleted files in their own web trash for 30 days or more. A lot of people forget the folder looked “local” in Finder but was actually cloud-managed.
I’d also check:
- Preview app’s recent files list
- Finder sidebar tags if you used tags
/Volumesin case the docs were saved on an external drive by accident- Shared work accounts on the web, especially Microsoft 365 version history
Tiny disagreement with the “scan right away” advice: if the docs are extremely valuable and your Mac has a soldered SSD with FileVault on, I would stop before DIY tools and consider a pro first. Modern Macs are not friendly recovery targets.
If you do go software route, Disk Drill is the practical pick for most Mac users.
Pros:
- easy interface
- good file preview
- handles APFS reasonably well
- faster to use than command line tools
Cons:
- not magic against TRIM
- best recovery often needs another drive
- can find lots of junk, which takes sorting
- paid features may be needed for full recovery
If Disk Drill finds the files, recover only to an external drive, never back to the Mac’s internal disk.