I accidentally emptied the Trash on my MacBook Air and realized some important files were still in it. I need help figuring out the first steps to take to recover deleted files before they get overwritten. Looking for advice on Mac data recovery options that actually work.
I know the feeling. You empty Trash, then your stomach drops. I did this once with a folder of client files and froze for a second. The first few minutes matter more than people think.
Stop using the MacBook now. Don’t open apps. Don’t download stuff. Don’t save a doc. Leave it alone.
When Trash gets emptied, macOS usually does not erase the file data on the spot. It removes the file’s entry and marks the space as available. So the bits often still sit there until new data lands over them. If you keep using the laptop, you raise the odds of overwriting the exact stuff you want back.
There’s one catch on newer Macs. SSD storage uses TRIM, and TRIM cleans deleted blocks in the background. It helps the drive stay fast. Bad news for recovery, because it means deleted data might get cleared sooner than you expect. So yeah, speed matters.
Places I would check first
- Cloud accounts
If those files ever synced with iCloud Drive, Dropbox, or Google Drive, check from your phone or another computer. Stay off the Mac if you can. Most of those services keep a separate deleted-items area for around 30 days. - Photos and Notes
If you lost pictures or notes, open those apps and look in their own Recently Deleted sections. Apple usually keeps those for 30 to 40 days, separate from system Trash. - Time Machine
If Time Machine was ever turned on, look there. Go back to the folder where the files used to live. Even without the backup disk connected, macOS sometimes keeps local snapshots for about a day on the internal drive. I’ve seen people get lucky with this.
If those checks come up empty, then it turns into a recovery-software problem.
What I’d do next
Run a recovery tool fast, but don’t install it on the MacBook’s internal drive.
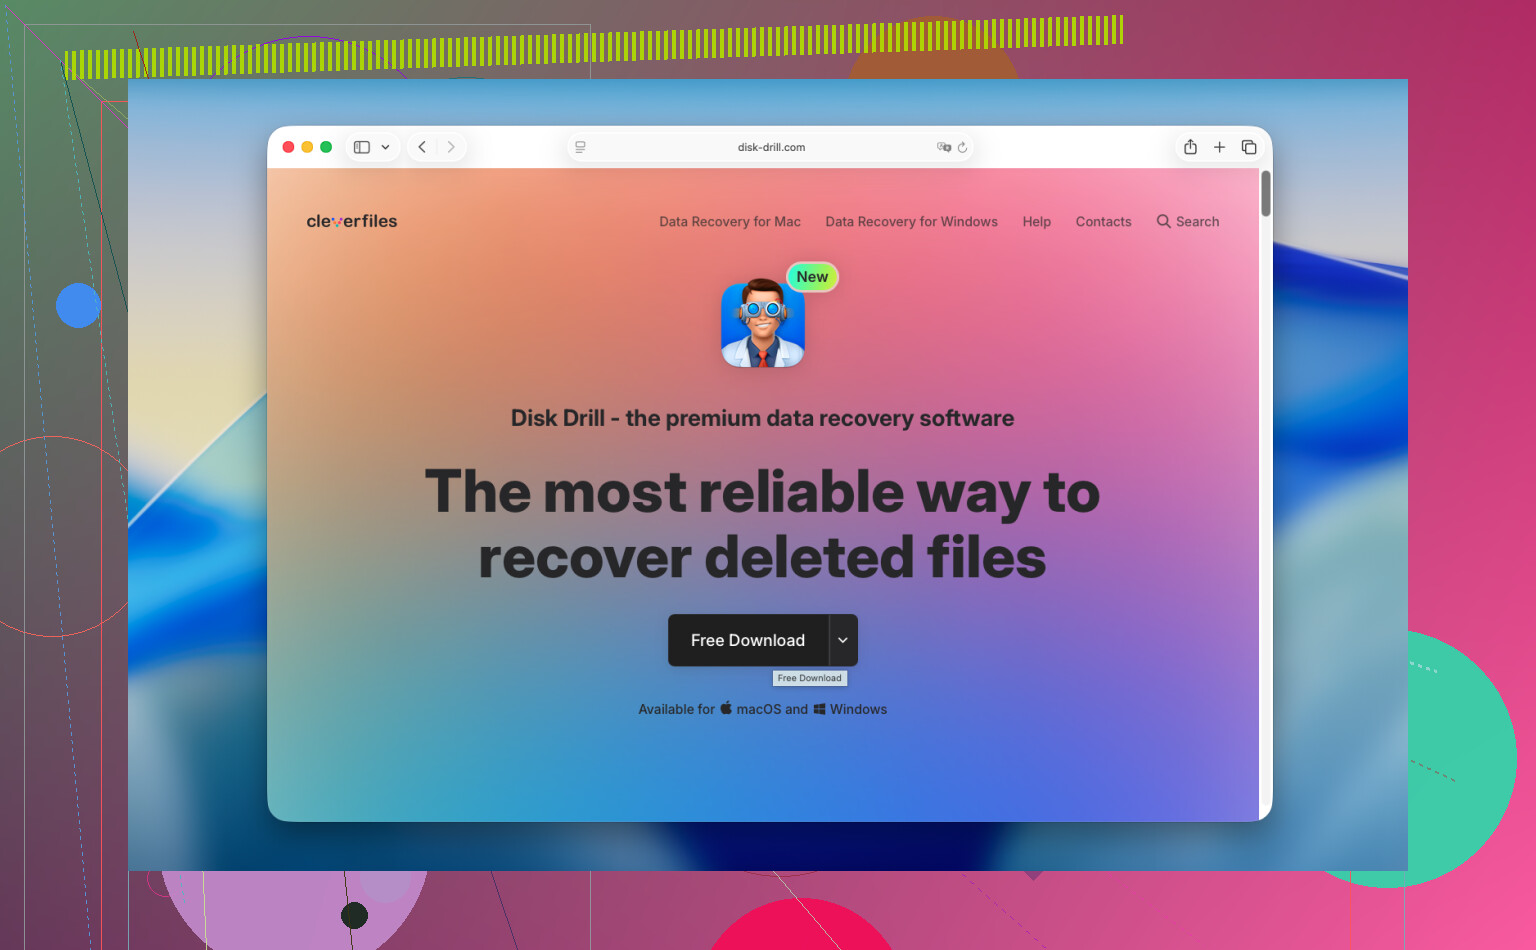
I usually point people to Disk Drill. On newer MacBooks, especially Apple Silicon models and systems with the T2 chip, the internal storage setup is a pain for many generic tools. Some apps simply don’t handle it well.
- Do not install recovery software onto the MacBook itself
This part gets ignored a lot. Installing software writes data to the same drive you’re trying to recover from. Use another computer. Download the app there. Put it on a USB drive and run it from that setup instead. - Make a disk image first
I’d do this before scanning. A disk image is a full copy of the drive, sector by sector. Save it to an external drive. If recovery goes sideways, or if you want to try again later, you work from the image instead of hammering the original disk again. On SSDs, this step matters more than most guides admit. - Scan the internal drive or the image
Point the software at the Mac’s drive, or better, the image file you made. Let it search raw storage for anything recoverable. - Check previews first
One thing I like with Disk Drill is you can scan first and preview results before paying. If your photos, docs, or videos show up intact, you know whether it’s worth going further. - Restore files somewhere else
Do not recover back onto the MacBook’s internal drive. Save the recovered data to an external SSD, hard drive, or even a large USB stick.
If you want a free option
PhotoRec exists, and yes, it works. It’s free and open source. I’ve used it, and it pulled files back when other stuff failed. Still, it’s rough.
It runs in the command line. No normal interface. It also tends to strip away original file names and folder layout, so you end up sorting a mountain of files named like random gibberish. If you’re okay with that mess, fine. If not, it gets old fast.
When software doesn’t cut it
At that point, I’d look at a recovery lab. These companies do this all day. Usually they inspect the drive first, tell you what looks recoverable, then give you a price. Turnaround is often a few days, sometimes a week.
From what I’ve seen, standard jobs often land around $300 to $1,500. Bad physical damage pushes it higher. It’s not cheap. Still, if the lost files are family photos, tax records, work archives, or anything you can’t rebuild, the cost starts to make more sense.
Main thing, stop using the MacBook and act fast. That gives you the best shot.
2 Likes
First thing, power it down. Not sleep. Full shutdown. I slightly disagree with @mikeappsreviewer on one part, poking around for local snapshots on the same Mac right away adds write activity, and on SSD Macs that is not what you want in the first hour.
Then do this from another device if you have one.
- Check iCloud.com, Dropbox, Google Drive, OneDrive.
- Check email attachments if the file was shared before.
- If the files were docs, look for app-specific autosave or version history from another machine.
- If you had Time Machine, connect the backup drive to a diffrent Mac first and inspect there.
If none of that works, move to recovery. Disk Drill is one of the few Mac recovery apps people keep coming back to because the interface is simple and previews save time. I would skip installing anything onto the MacBook’s internal drive. Use an external drive for the app and for recovered files. If the files matter a lot, stop DIY after the first failed scan and send it to a lab.
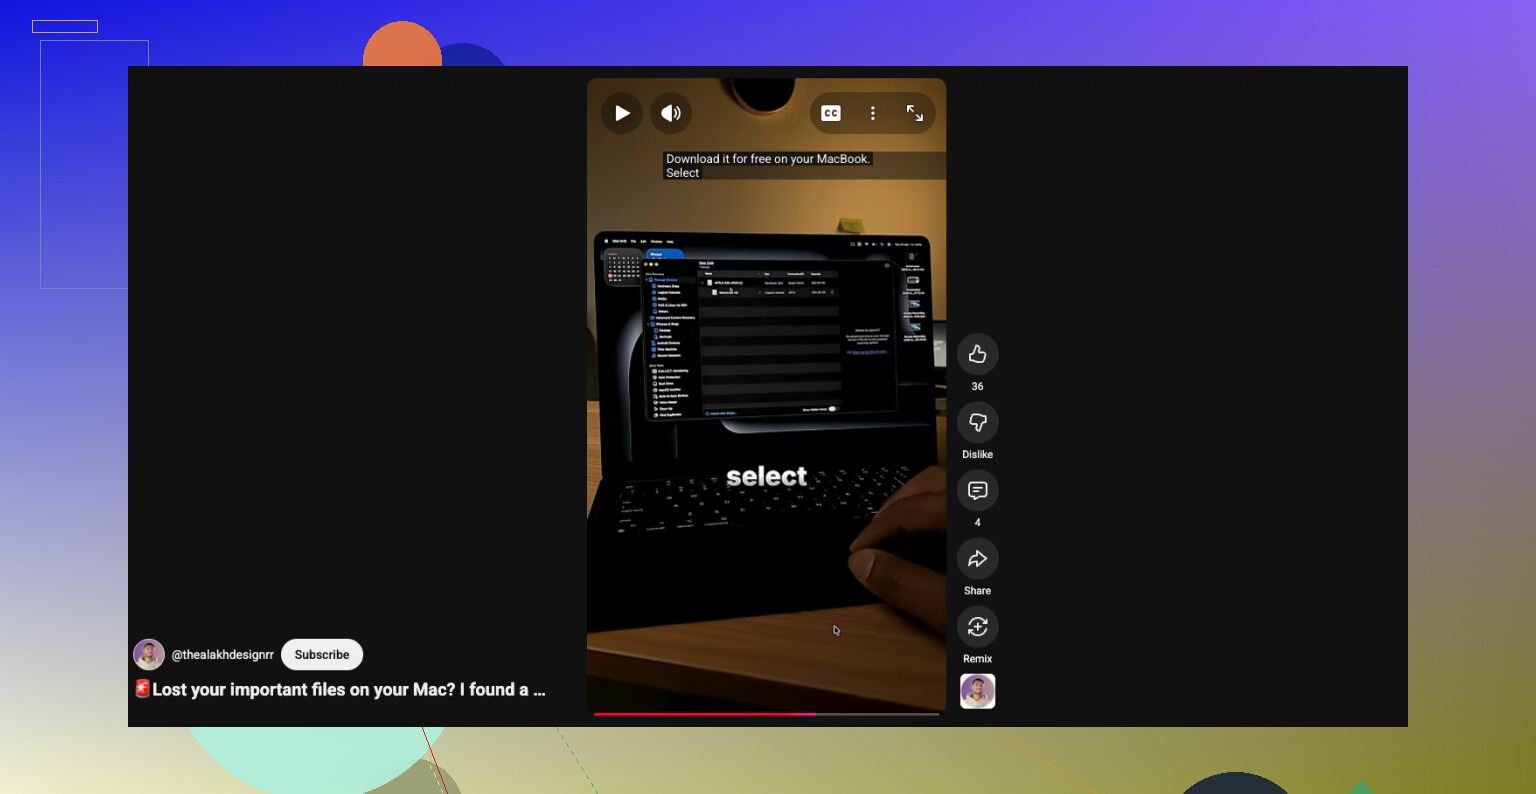
Also, this short guide is decent if you want a fast visual walkthrough for Mac deleted file recovery:
watch this Mac deleted file recovery tutorial
Main thing, stop writes to the SSD now. That part matters most.
First move: stop trying stuff on the MacBook Air itself. I mostly agree with @mikeappsreviewer and @viaggiatoresolare on that, but I’m a little less sold on doing any local checking before you decide how important the files are. On SSD Macs, even a little poking around can be a bad idea.
What I’d do is split it by file value:
- Critical stuff like business docs, legal files, irreplaceable photos: shut it down fully and consider a pro lab before DIY.
- Important but not life-ending: use another Mac if possible and boot the Air from an external drive, then try recovery from there.
- Replaceable files: then yeah, try software.
One extra thing people forget: if the deleted files were from apps like Word, Pages, Photoshop, or Excel, check whether you have temp/autorecovery files or previous emailed/exported copies on other devices. Sometimes the “lost” file is really just a duplicate hiding somewhere dumb.
If you do go software route, Disk Drill for Mac is one of the more practical choices because it previews found files and is less of a headache than a lot of Mac recovery tools. Just don’t recover back onto the internal drive. External drive only, period.
Also, if FileVault was enabled and the Mac has been off/restarted a few times, recovery odds can get uglier fast. That part gets skipped in a lot of forum replies.
For extra reading, this thread is pretty relevant: Facebook discussion on recovering deleted Mac files after emptying Trash
Short version: stop writes, decide if it’s lab-level important, then use an external setup. Don’t panic-click your way into making it worse.
One thing I’d add to what @viaggiatoresolare, @suenodelbosque, and @mikeappsreviewer said: check whether the files were ever opened from an app with its own recovery cache. That’s not the same as Trash recovery, and it can save you when file carving fails.
Examples worth checking from another Mac if possible:
- Word: AutoRecovery folders
- Pages/Numbers/Keynote: document version history if it was saved before
- Adobe apps: crash recovery/temp folders
- Preview: duplicate exports in Recents or app state
I slightly disagree with the “disk image first no matter what” advice. If TRIM already cleaned blocks on the internal SSD, an image just preserves the empty reality and costs time. Good move if you know what you’re doing, but not always the first move for regular users.
If you try software, Disk Drill is reasonable on Mac.
Pros
- easy UI
- good previewing
- handles lots of file types
- less intimidating than PhotoRec
Cons
- not magic on TRIMmed SSDs
- deep scans can return messy results
- paid for full recovery
- best practice needs an external drive, which some people don’t have
So my order would be:
- Stop using the Air
- Look for app-level copies and cloud/version history from another device
- Decide if the files are lab-important
- If not, run Disk Drill from external storage and recover to another drive only
If nothing appears quickly, don’t keep rescanning over and over. That’s where people waste hours.