My Seagate external hard drive stopped showing up properly after a disconnect, and I’m worried about losing important files. I’m seeing DIY Seagate external hard drive data recovery tips online, but I don’t know if trying software or opening the drive could make things worse. What’s the safest next step?
First thing: don’t do anything else to the Seagate drive yet. If Windows says it’s empty, asks you to format it, shows it as RAW, or the files suddenly vanished, that doesn’t automatically mean the data is gone. A lot of the time the file system is what broke, and the actual files may still be sitting there.
Do not format the drive. Don’t copy anything to it. Don’t run CHKDSK or other repair tools unless you already have another copy of the data. Anything that writes to the disk can overwrite files you might still be able to recover.
Before messing with recovery software, check for signs of physical failure. Plug it in only briefly and listen. Clicking, scraping, grinding, repeated spin-up sounds, or anything weird is a bad sign. If you hear that, stop testing it. Mechanical drives can get worse the more you scan them.
In that case, look into Seagate’s Rescue Data Recovery Services first. Some Backup Plus drives came with Rescue coverage, so it’s worth checking the serial number on Seagate’s site before paying for recovery yourself.
If the drive sounds normal and Windows still detects it somewhere, even if it doesn’t show properly in File Explorer, then DIY recovery is more realistic. Check Disk Management too. If the drive appears there with the correct size, like 2TB or 5TB, recovery software may still be able to read it even if Windows can’t mount the file system.
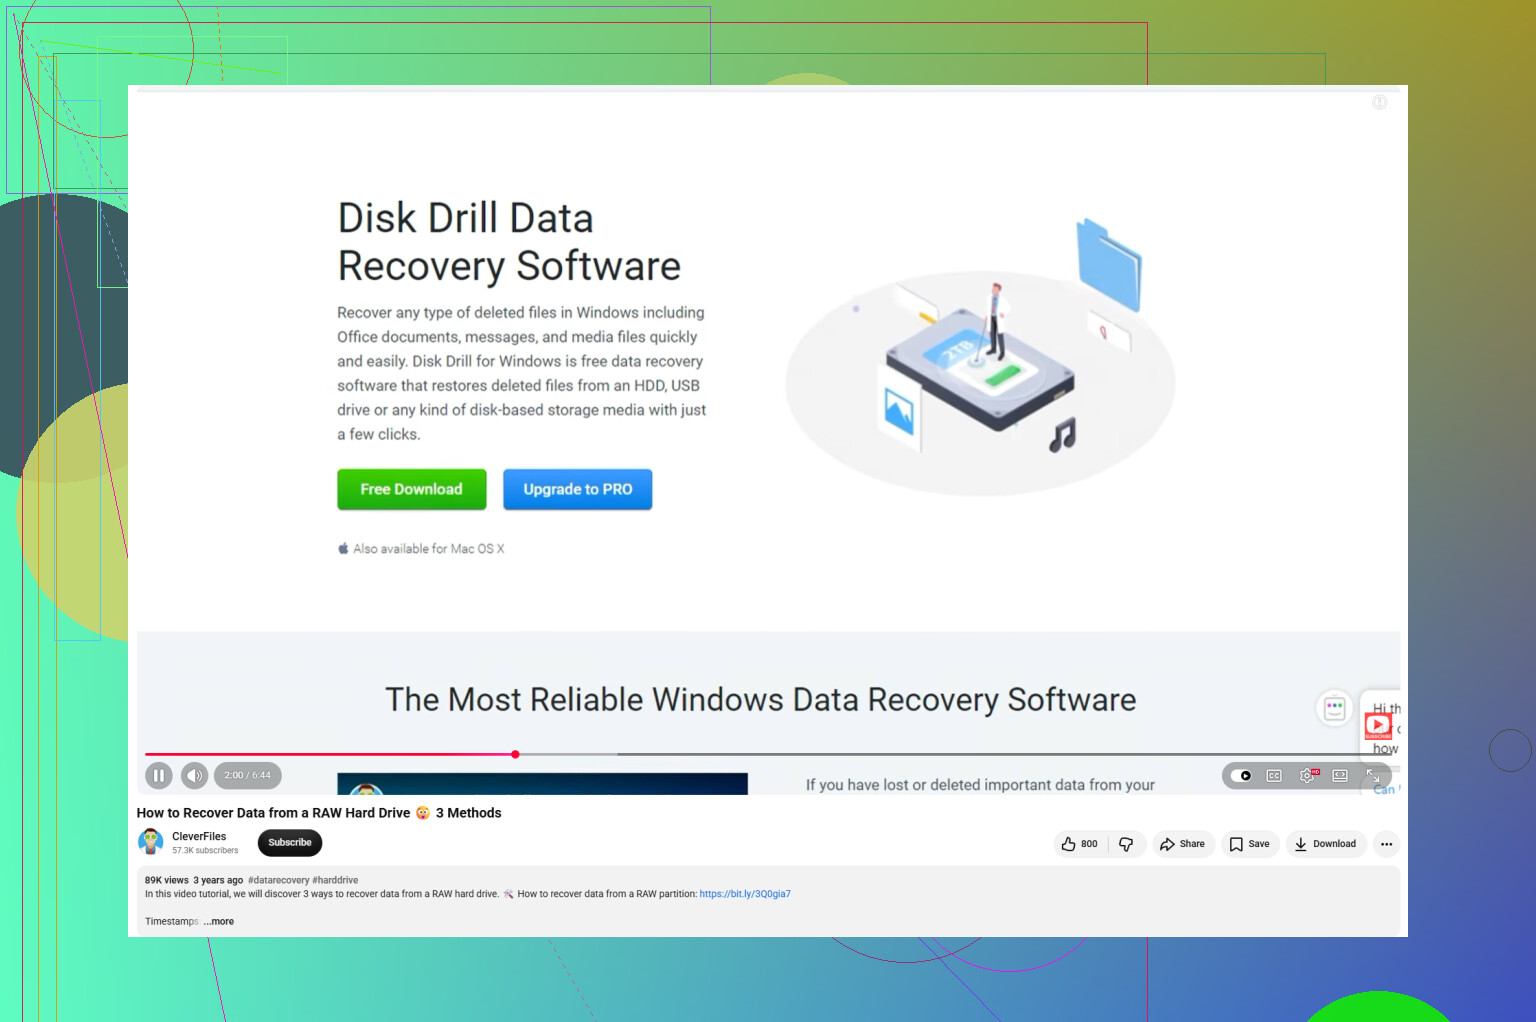
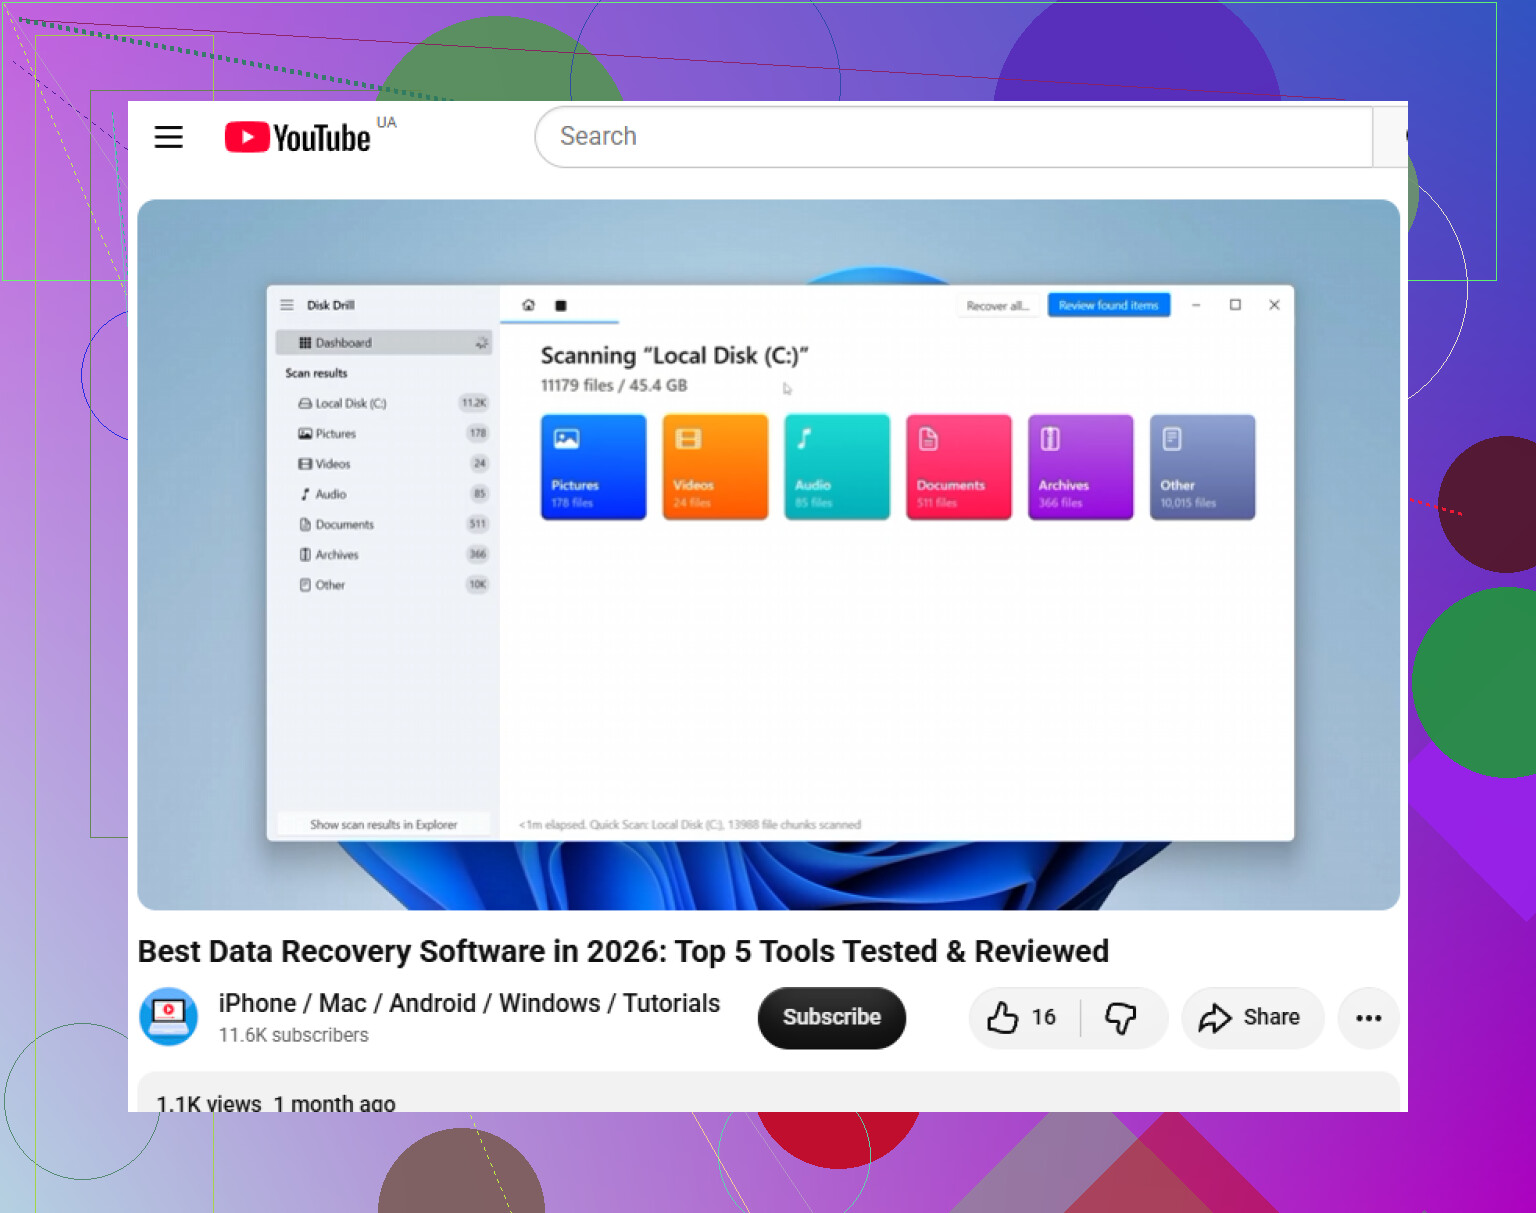
For software recovery, Disk Drill is one option I’d look at for a Seagate external drive, especially if the partition disappeared, the drive shows as RAW, or it was unplugged without safely ejecting.
A safer way to approach it:
- Install the recovery software on your computer’s internal drive or on another external drive, not on the Seagate drive you’re trying to recover.
- If the Seagate drive is slow, unstable, or acting odd, make a byte-to-byte backup first. Disk Drill can create a full disk image, and scanning the image is safer than repeatedly scanning the original drive.
- Try another USB cable or port if the drive keeps disconnecting or only shows up sometimes. Portable drives can be picky about cables.
- Scan either the Seagate drive or the disk image.
- Preview a few important files before recovering them. If previews work, that’s usually a good sign.
- Save recovered files to a different drive. Never save them back onto the damaged Seagate drive, because that can overwrite files you haven’t recovered yet.
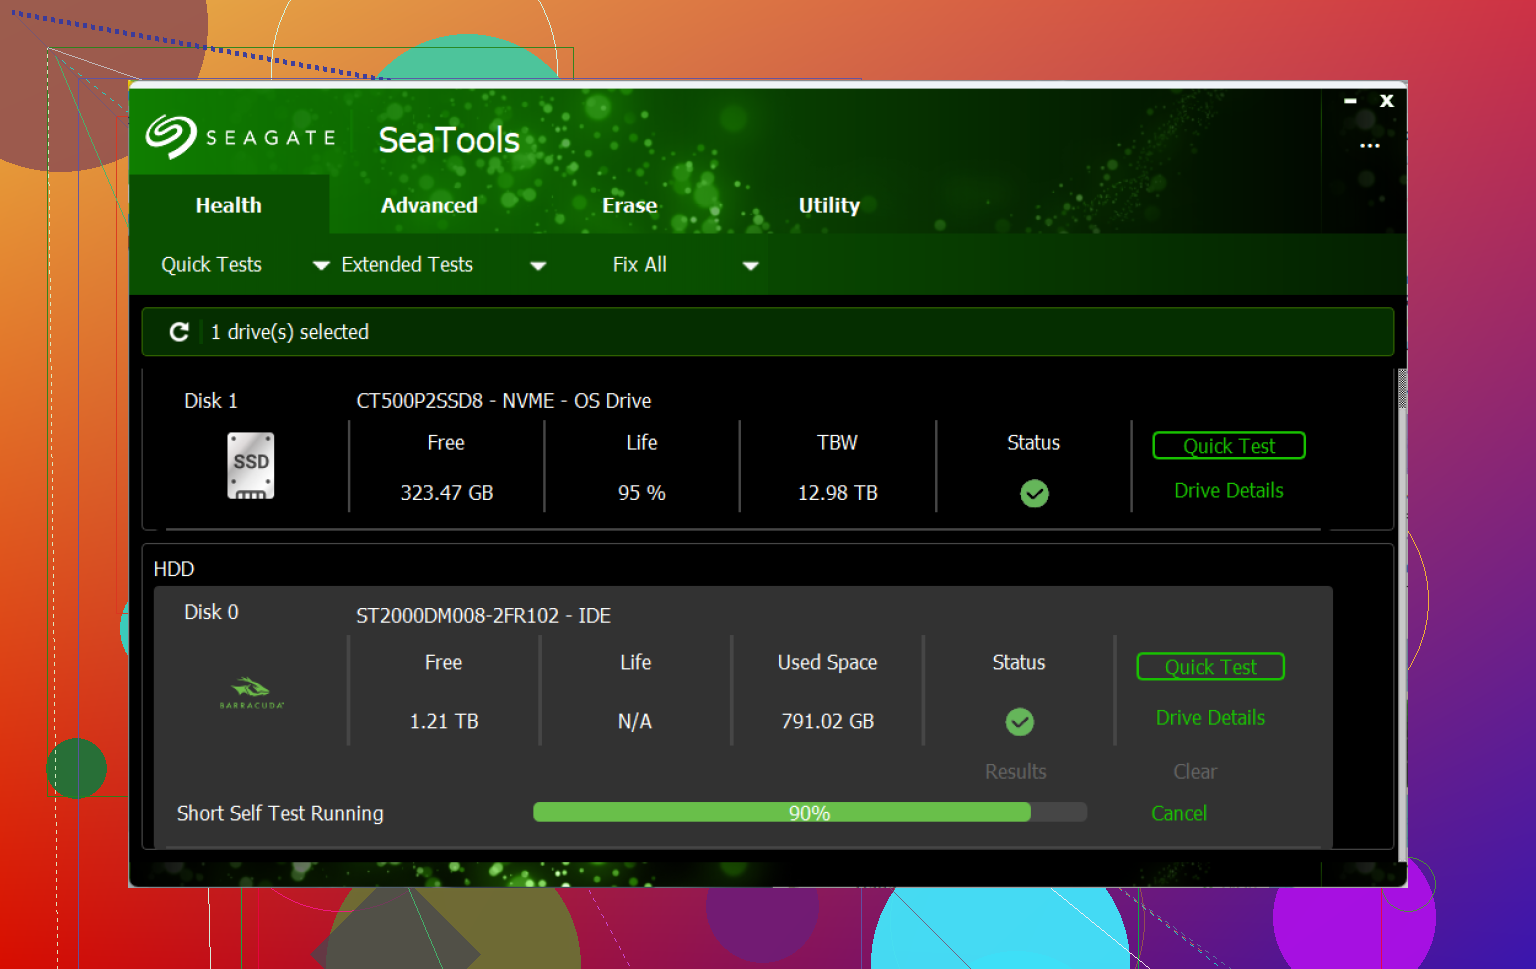
After you get the data back, don’t assume the drive is healthy. Download Seagate SeaTools and run the Long Generic Test. If it finds errors, replace the drive. If it passes, you can format the drive and reuse it, but I’d still treat it as suspicious and keep a second backup from now on.
Large drives can take a long time to scan, so hours is normal. If the drive powers on, sounds normal, and shows the correct capacity, there’s still a decent chance the files can be recovered.
9 Likes
Don’t open the drive case or try freezer tricks, PCB swaps, or “tap it until it works” advice from random videos. That’s where DIY stops being cheap and starts ruining your odds. @mikeappsreviewer is right about avoiding anything that writes to the disk, but I’d be just as suspicious of the USB side of the setup. A bad cable, weak USB port, or flaky external enclosure can make a good drive look dead or RAW. Try a different cable and a rear motherboard USB port if it’s a desktop, but keep the testing brief. If it mounts even once, copy the most important files first before doing a full scan. If it keeps dropping out during scans, don’t keep restarting Disk Drill or any other tool over and over on the original drive. Image it first or stop and consider a lab, because repeated disconnects are how a recoverable mess turns into a worse one.
The sneaky risk with some Seagate externals is that the USB enclosure may be part of how the data is presented to the computer, so pulling the bare drive out and plugging it into a dock can make things more confusing instead of safer. That is especially true if the enclosure uses odd sector translation or any built-in encryption. So I agree with @vrijheidsvogel about checking the cable/port/enclosure side, but I would not jump straight to “shuck it and connect SATA” unless you already know that model behaves normally outside the case.
DIY is reasonably safe only if you treat the drive as read-only and stop when it acts unstable. Looking at Disk Management, trying a different cable, and scanning with Disk Drill or another recovery tool is fine when the drive sounds normal and shows the right capacity. The unsafe part is when people start “repairing” the file system because they want the drive to work again. Recovery and repair are different goals. Recover the files first, fix the drive later.
A small practical thing: if you get even partial access, do not waste time browsing folders to see what survived. Grab the irreplaceable stuff first, photos, documents, tax files, whatever matters most. Big full-disk scans can take forever, and a failing external can disappear halfway through. If it disconnects more than once while copying or scanning, I would stop treating it like a software problem and either image it with a proper tool or send it out. DIY is fine for a logical mess. It is not fine as a stress test for a dying drive.
Windows trying to “help” can be part of the danger here. If it pops up with “you need to format this disk” or asks to initialize it, don’t click through just to see what happens. Cancel those prompts. A surprising amount of DIY damage starts with someone accepting a harmless-looking Windows dialog before they even run recovery software.
I mostly agree with the others, but I’d be a little less casual about scanning the original drive if the files are important. A recovery scan is read-only in theory, but it still makes the drive work hard for a long time. If the drive is already weak, that can be enough to push it from “occasionally readable” to “barely readable.” Disk Drill or similar tools can be useful when the problem is a lost partition, RAW file system, accidental disconnect, etc., but the tool is not magic. It cannot make a physically failing Seagate safer to read.
The boring thing people forget is that you need somewhere else to put the recovered data before you start. Not a folder on the same Seagate drive. Not the same disk after a quick format. A separate drive with enough free space. If the external is 4TB and you only care about 200GB of photos and documents, recover those first instead of trying to rebuild the whole drive just because the software offers to.
My cutoff would be pretty simple: if it shows the correct capacity, makes normal sounds, stays connected, and you’re only copying or scanning from it, DIY is reasonably safe. If it clicks, drops offline, shows the wrong size, freezes the whole computer, or keeps reconnecting, stop. At that point you’re not troubleshooting a USB hiccup anymore, you’re gambling with the remaining readable time on the drive.
After you recover what you can, I wouldn’t trust that Seagate for the only copy of anything, even if you get it working again. A drive that vanished after a disconnect might have only had file system damage, sure, but it has already earned a demotion to “temporary storage” until it passes diagnostics and you have backups somewhere else.