My iPhone storage is almost full because of thousands of photos and videos, but I really don’t want to lose any memories or mess up my existing albums. I’m confused about iCloud Photos, Optimize Storage, and backup options, and I’m worried I’ll delete something permanently by mistake. What’s the safest way to clear space on my iPhone while keeping all my photos backed up and easy to access later?
Short version so you do not mess up your memories or albums:
- Turn on iCloud Photos the safe way
- Use Optimize Storage on the iPhone
- Make a full backup outside Apple
- Then clean up junk and duplicates
Details:
- Get a full backup first
- Plug iPhone into a computer with enough space.
- On Mac, open Finder, select iPhone, choose Back up all of the data on your iPhone to this Mac, then click Back Up Now.
- On Windows, use iTunes, same idea.
- This keeps one full copy in case anything goes wrong.
- Decide how you want your “master” library stored
Best option for most people: iCloud as the master, with extra local backup.
- Go to Settings > [your name] > iCloud > Photos.
- Turn on Sync this iPhone or iCloud Photos.
- Choose Download and Keep Originals for now so it uploads full quality.
- Plug into power and Wi‑Fi, leave it alone for hours. Thousands of photos take time.
- Check on another Apple device or on iCloud.com to confirm all photos and albums show up.
Important: iCloud Photos syncs, it does not act like cold storage.
If you delete a photo from one device, it deletes from all devices and iCloud, unless you restore from Recently Deleted.
- After upload is done, free space on the iPhone
Now switch to Optimize Storage.
- Settings > Photos > Optimize iPhone Storage.
- iPhone starts keeping small versions, full-res stay in iCloud.
- As storage gets low, iOS removes local originals first, but they stay in iCloud.
- Your albums and dates stay intact. You still see everything in Photos, it loads full-res from iCloud when you tap.
- Extra safety backup outside iCloud
If you take photos of kids, trips, etc, use at least one more backup.
Options:
- Mac Photos library on an external drive.
Open Photos on Mac, import your iCloud library, then move the Photos Library file to an external SSD or HDD. - Google Photos or Amazon Photos as secondary cloud. Turn on their backup option, let it sync once, then you have a second cloud copy.
- Plain folder backup. Import photos to a folder by year/month on a drive, so you are not locked into any app.
- Avoid breaking your albums
- Using iCloud Photos preserves your albums across Apple devices.
- Copying to Google Photos or others often does not keep custom album structures from Apple Photos, they become “folders” or smart albums, sometimes lost.
- If albums are important, keep Apple Photos as the main organizer and treat other backups as “all photos” safety nets.
- Remove junk and duplicates to get more space
A lot of storage goes to:
- Duplicates from burst shots, edits, downloads.
- Screenshots, memes, WhatsApp image spam.
- Massive videos in 4K and slow motion.
Manual steps:
- In Photos app, go to Albums > Utilities > Duplicates and merge.
- Go to Albums > Media Types and clear Screenshots, Screen Recordings, WhatsApp or Messenger folders if they show in Photos.
- Sort your videos by size and delete the worst ones. One 4K clip can take several GB.
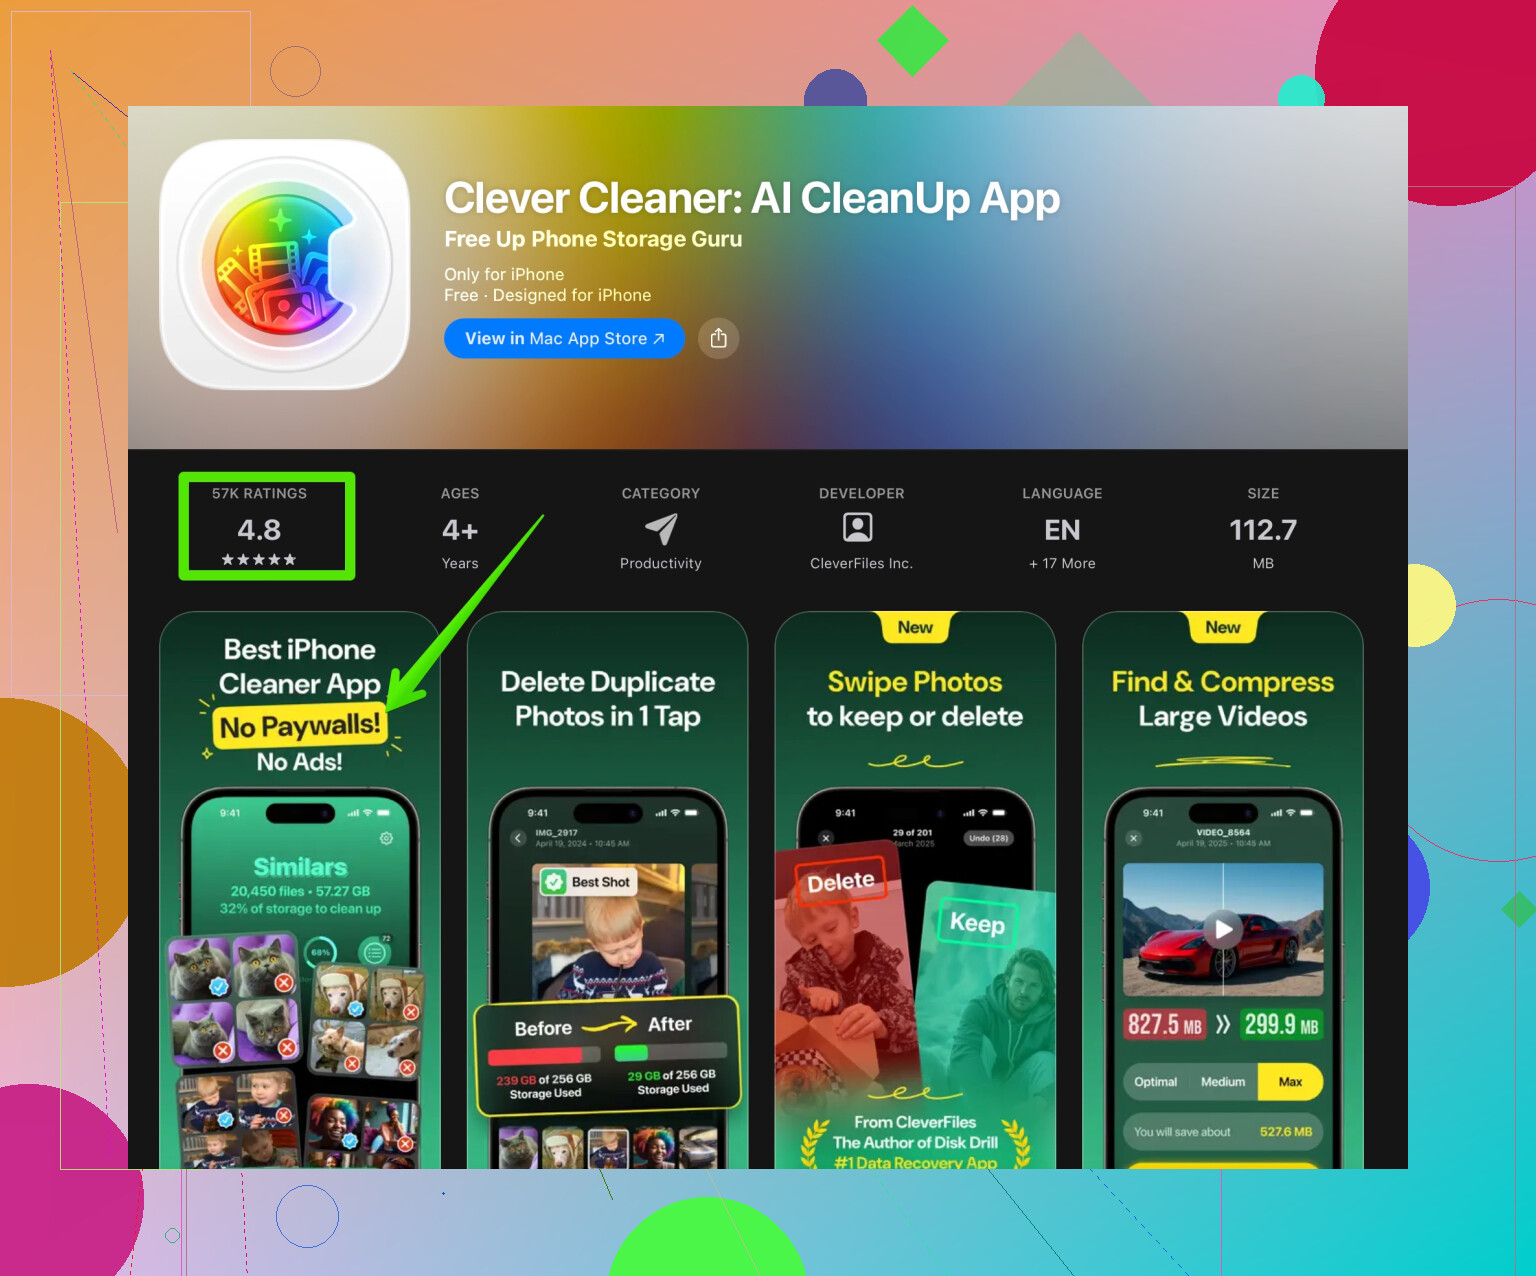
If you want less manual work, an app helps a lot. Something like the Clever Cleaner App scans for duplicates, blurry shots, and big files.
For iPhone storage, this type of tool saves time when you have years of random pics and videos.
Check this link for an option focused on cleaning and organizing media on iOS:
smart iPhone photo cleanup with Clever Cleaner App
- Extra tips so nothing disappears by surprise
- Do not turn off iCloud Photos and choose “Remove from iPhone” unless you know you have a full copy elsewhere.
- Do not delete from Recently Deleted if you are unsure. They auto delete after 30 days.
- If you plan to stop paying for iCloud storage later, make a full download of your iCloud Photos to a computer first.
Simple safe workflow:
iPhone with iCloud Photos ON and Optimize Storage
- Full Mac or PC backup
- One extra backup in another cloud or external drive
= more free space on the phone, no lost memories, albums intact.
4 Likes
My iPhone storage is almost full from thousands of photos and videos, but I don’t want to lose any memories or break my existing albums. I’m trying to figure out how to safely use iCloud Photos, Optimize Storage, and different backup options so I can free up space without accidentally deleting my pictures or messing up how everything is organized.
@vrijheidsvogel already nailed the main “Apple approved” route with iCloud Photos as your master library. I agree with most of that, but I’ll add a slightly different angle and a few practical tricks that don’t get talked about as much.
1. Decide if you really want full iCloud syncing
Where I’ll mildly disagree: iCloud Photos is amazing, but it is dangerous if you think it’s a backup. It’s sync. You delete on iPhone, it’s gone everywhere.
If you are nervous or not great with settings, a safer mental model is:
- iCloud Photos = live, editable library
- Separate backup = frozen copy you never touch
So even if you use iCloud Photos, treat it like your “working folder,” not your only safety net.
2. Use iCloud, but keep control
If you go the iCloud route like @vrijheidsvogel said, I’d tweak the process slightly:
- Turn on iCloud Photos.
- Let it fully upload.
- Before you flip to Optimize Storage, make an export to a computer:
- On a Mac: in Photos, select all, then File > Export > Export Unmodified Originals.
- On Windows: use iCloud for Windows or connect the iPhone and copy from DCIM.
That exported folder is not tied to Apple’s system. It’s ugly, just a bunch of files, but it’s the “nothing-can-randomly-sync-delete-this” copy.
Only after that would I enable Optimize iPhone Storage.
3. If you don’t want iCloud Photos
There is a totally valid route where you skip iCloud Photos entirely:
- Plug iPhone into a computer.
- Import all photos and videos to the computer into dated folders (e.g., 2020, 2021, etc.).
- Verify that everything is there and opens correctly.
- Make a second copy of that folder on an external drive.
- Only then go back to iPhone and delete older years from the device.
You keep your Apple albums only on the phone in this scenario, which is the downside. If album structure is sacred for you across devices, iCloud Photos is better.
4. Clean storage without touching your “real” memories
You can get a surprising amount of space back by clearing trash before you even worry about big restructuring:
- Messages:
Settings > Messages > Keep Messages > 1 Year or 30 Days. That alone can free GBs if people send you videos constantly. - Social apps:
Many apps keep their own hidden copies in “Documents & Data.” Consider offloading or reinstalling heavy apps like Instagram, TikTok, WhatsApp. This cleans their local caches without touching your Photos library. - WhatsApp & Messenger media:
Inside those apps, disable “Save to Camera Roll” going forward. Future spam memes will not clutter your Photos app.
This way you avoid nuking actual photos while still gaining meaningful space.
5. Dealing with duplicates and junk the sane way
Manual cleanup is fine, but with thousands of photos it gets old fast. This is where a tool helps a lot.
A dedicated cleaner on iOS can:
- Detect duplicates and similar shots
- Surface huge videos
- Point out blurry pics and screenshots
The Clever Cleaner App is actually solid for this kind of thing. It focuses specifically on media clutter and makes it pretty painless to pick what to delete. If you want to keep your emotional “memories” and just kill the bloat, using something like
smart iPhone photo cleanup and storage optimization
is a lot faster than tapping through years of random screenshots and bursts.
I would:
- Make at least one full backup (computer or external drive).
- Run a cleaner like Clever Cleaner to remove obvious junk and duplicates.
- Then think about iCloud / Optimize Storage on top.
That way the stuff you sync and back up is already lean.
6. Simple “don’t break anything” rules
To keep albums and memories safe:
- Never treat iCloud Photos as your only backup.
- Do not mass-delete whole years from your iPhone unless you verified you have them somewhere else.
- Avoid turning iCloud Photos on and off repeatedly. Set it once, understand what it’s doing, leave it.
- Keep at least 2 independent copies of your lifetime photos:
- iCloud or iPhone library
- Plus computer / external drive / another cloud
Do this, and you can free up a bunch of space without that “I just deleted my kid’s baby photos” panic attack.
Short version: you want three layers.
- a “cold storage” archive that never syncs
- a live Apple Photos library that can breathe
- smart cleanup of junk that is not really a memory
@vrijheidsvogel covered the Apple-official path really well, so I’ll only hit angles they did not focus on.
1. Decide what must stay on the phone
Before touching iCloud or anything else, ask:
- Which albums / years do you actually browse on the phone?
- Which albums are “nice to have” but not essential on the device?
A useful trick:
- In Photos > Albums > Recents, scroll by year and note:
- Last 12–18 months: usually “active memories”
- Older than that: mostly archive
Plan: keep the last 1–2 years fully accessible on the iPhone, push everything older into archive + cloud.
This mindset helps you avoid the “everything everywhere or I panic” trap.
2. Use iCloud Photos more like a cache than a shrine
Where I slightly disagree with @vrijheidsvogel: you do not actually need your entire life’s photos fully downloadable on every device. For many people, iCloud Photos is best as:
- A master catalog with thumbnails searchable on demand
- Originals pulled down only when needed
So after you have your independent archive (see below), it is totally fine to:
- Turn on iCloud Photos
- Turn on Optimize iPhone Storage
- Accept that old, rarely viewed shots will become lightweight previews
You still “have” them and can download the full-res when you tap. The important part is that this is no longer your only copy.
3. Independent archive that does not care what Apple does
This is the part people skip, then regret later.
I would slightly change the usual computer-backup advice and go for two archive types:
-
File-based archive
- Export unmodified originals from Photos to a folder structure like:
- Family / 2018 / 2018-07 Spain
- Friends / 2019 / 2019-10 Party
- Keep this on:
- External SSD or HDD
- Plus a second copy on another drive or different location
- Export unmodified originals from Photos to a folder structure like:
-
Cloud archive not tied to Apple syncing
- Could be Google Photos, OneDrive, Dropbox, Synology, etc.
- Upload from the computer archive, not straight from iPhone
Why both? Because a file-based archive will survive any future change of app, and an independent cloud gives you a safety net if the drives die.
Once you have this in place, you can be far more aggressive freeing space on the phone without fear.
4. Hidden hogs inside Photos before touching the “real” stuff
You can reclaim space within Photos itself without sacrificing memories:
-
Bursts & Live Photos
- Convert some Live Photos to stills if you never use the motion
- From a burst, keep only the best frame, delete the rest
-
4K & slo-mo videos
- Check Albums > Videos and Albums > Slo-mo
- Often a few huge clips eat more space than thousands of photos
- Consider exporting “special” clips to your archive, then deleting originals from the phone
This way, when you finally sync or back up, you are not hauling tons of bloated media you never actually watch.
5. Using a cleaner app smartly rather than blindly
You mentioned being scared to “break albums” or lose memories. Cleaner apps are most dangerous when you tap through without thinking. Used carefully, they are very helpful.
The Clever Cleaner App sits in the “use it as a scalpel, not a chainsaw” category.
Pros of Clever Cleaner App
- Good at clustering:
- Duplicates
- Near-duplicates (burst shots, multiple takes)
- Screenshots and obvious low-value items
- Lets you preview before you delete, so albums are not randomly destroyed
- Interface is simple enough that non-techy users do not have to dig through deep iOS menus
- Especially strong for quickly identifying huge videos that you forgot about
Cons of Clever Cleaner App
- It cannot know emotional value, only technical similarity
- So you still need to look at suggested deletions, at least for older photos
- If you run it before you have a backup, you risk regrettable deletions like any other cleaner
- Like most cleaners, it encourages “tap, tap, gone” behavior, which is great for junk, dangerous if you are tired or distracted
- It focuses on media cleanup, so it will not solve other causes of storage issues like giant offline playlists or app caches
How I would use it:
- Create at least one full archive (files on a drive) first.
- Run Clever Cleaner App, but:
- Start with screenshots, screen recordings, and very recent duplicates where emotional risk is low
- Leave old family folders for last and review more carefully
- After cleanup, then decide what goes to iCloud / what stays on-device.
That sequence keeps the “oh no” factor low.
6. Where I differ a bit from the “always keep albums” approach
Album preservation is great, but it can also trap you.
Personally, I think:
- Albums are convenient, but your core safety is:
- Raw image files
- Embedded dates
- People & location info
- Rebuilding albums later is annoying, not catastrophic
If choice is:
- Keep perfect album structure on iPhone
- Or free 40 GB and ensure you have long-term archives
then I would sacrifice album perfection. Most non-Apple tools ignore Apple’s album structure anyway, so long-term portability depends more on file organization than iOS albums.
So I would not let “I might lose album X” stop you from archiving and cleaning. Just document your current structure (screenshots of key albums) before you change major settings.
7. A concrete, low-drama plan
Here is a simple path that avoids scary surprises:
-
Archive to computer + external drive
- Export all originals from your iPhone or from Photos on Mac/PC
- Verify a few random folders and files actually open
-
Upload that archive to a non-Apple cloud
- So you have something independent of iCloud Photos
-
Light cleanup with Clever Cleaner App
- Kill screenshots, obvious duplicates, big junk videos
- Still no mass deletions of “real” memories yet
-
Turn on iCloud Photos & Optimize iPhone Storage
- Let everything upload
- Give it time on Wi-Fi and power
-
After a week or so, re-check storage
- Most people see a very significant drop in “Photos” storage
- If you still need more, start selectively offloading old years from the phone, knowing your archive and cloud copies are safe
Follow that, and even if you have a moment of panic or accidentally delete something, you are still covered by at least one frozen copy that won’t sync-delete itself.
You end up with:
- iPhone: lean, fast, still has all recent memories right there
- iCloud: whole catalog, searchable, not eating full local space
- Archive: independent, boring folders that will outlive whatever Apple changes next year