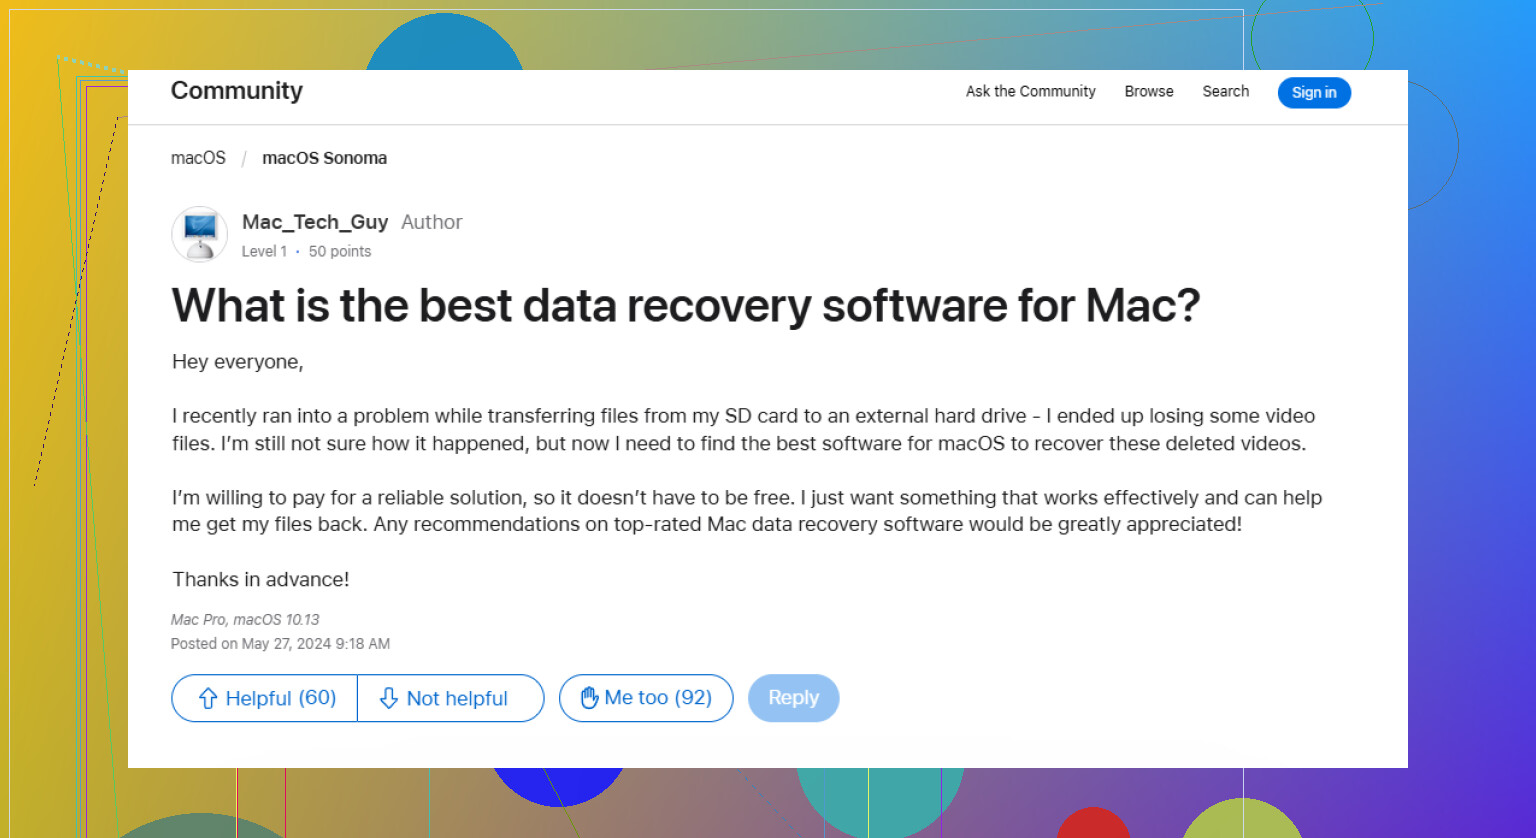
My Mac won’t boot, and I need to recover important files from the hard drive before trying a reinstall or repair. What’s the safest way to access the drive and recover Mac data without making the problem worse?
First thing: stop writing anything to the drive. That matters more than trying random fixes.
When a file gets deleted, or even when a drive is formatted, the data is not always wiped right away. macOS may just mark that space as free, and the old data can sit there until new data gets written over it. So the more you use the Mac or drive, the worse your odds can get.
If this was an external drive, unplug it for now. If the missing files were on the Mac’s internal drive, use the computer as little as possible. Don’t install apps, download files, move stuff around, or keep working like normal. Even background activity can write to the disk.
Check the obvious places first
Start with the regular Trash. If the files were on an external drive, also check the hidden Trash folder on that drive:
- Plug in the external drive and open it in Finder.
- Press Shift + Command + Period to show hidden files.
- Look for a folder named .Trashes.
- Open it and see if the missing files are there.
- If you find something, right-click it and choose “Put Back.”
If you had Time Machine on, use that next
If Time Machine was already enabled before the files disappeared, try that before doing any scan. Open Time Machine from the menu bar, go back to a date when the files still existed, select what you need, and hit “Restore.”
If there’s no backup, try recovery software carefully
When the Trash is empty and Time Machine does not have the files, recovery software is usually the next reasonable step before paying for a lab.
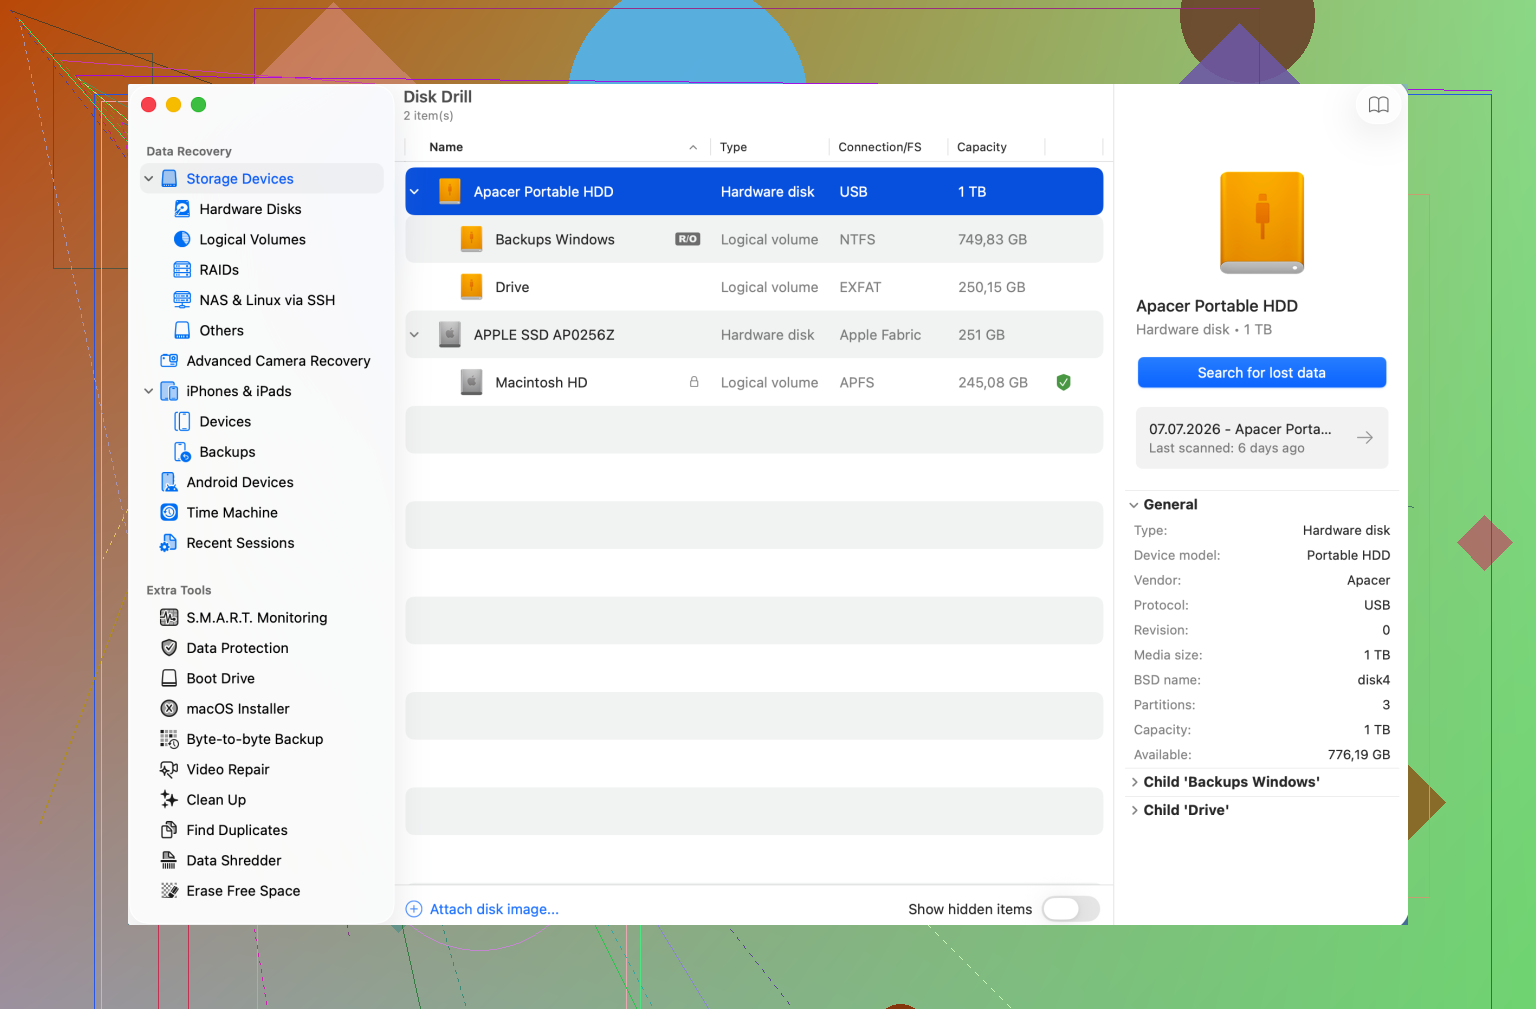
Disk Drill is one option for scanning Mac drives, including APFS and HFS+. It can look for recoverable file records and also identify files by their internal signatures if the original names or folders are damaged.
Do not install recovery software onto the same drive that lost the files. Install it somewhere else, and recover the found files to a different storage device too.
If the drive seems unstable, image it first
If the drive is freezing, disconnecting, vanishing from Finder, or taking forever to respond, don’t keep scanning it over and over. Use a byte-for-byte backup feature to make a full disk image, then scan that image instead of the physical drive. That gives you a fixed copy of the drive’s current state and puts less strain on hardware that may be failing.
Stop immediately if the drive sounds bad
Clicking, grinding, repeated spin-up sounds, or odd whirring can mean physical damage. In that case, don’t run recovery software. Disconnect the drive and talk to a professional data recovery lab. Software cannot fix a mechanical problem, and continuing to run the drive can make things worse.
Once the files are recovered, set up backups so this is not such a panic next time. Time Machine is good for a local backup, and a cloud backup gives you an off-site copy.
For now, keep it simple: stop using the drive, check Trash and Time Machine, make an image if the drive is acting flaky, and only recover files to a separate device.
6 Likes
Your Mac model and whether FileVault is enabled changes the safest path a lot. On newer Macs, the internal drive may be encrypted and tied to the logic board, so “pull the drive and plug it into another computer” may not work, or may not even be possible. If you know the login password or recovery key, keep that handy because without it recovery software will not magically read encrypted data.
Before reinstalling, I’d try accessing the disk from macOS Recovery. Boot to Recovery, open Disk Utility, and see if the internal volume appears. If it is just locked, unlock/mount it with your password, then copy the important folders to an external drive using Finder if available, or Terminal if you’re comfortable. On Apple silicon Macs, there is also “Share Disk” from Recovery, which lets another Mac access it over USB/Thunderbolt. On older Intel Macs, Target Disk Mode can do something similar.
I’d be careful with “repair” buttons until after you’ve copied the files. First Aid is usually fine, but it can still make changes to the file system, and if the drive is already in bad shape, copying the data first is the safer order. Disk Drill or similar tools are more useful after you’ve tried mounting/copying normally, not as the very first move. And if the drive mounts even once, don’t get picky about folder organization. Grab the must-have stuff first, then worry about a cleaner recovery later.
Whether you have another Mac available matters almost as much as the dead Mac itself. If you do, the lowest-drama route is usually to use Share Disk or Target Disk Mode and treat the problem Mac like an external drive. Copy your irreplaceable files to a separate external drive first. Don’t start with reinstalling macOS, and don’t choose any option that says erase, initialize, or set up as new.
A small trap people miss: make sure the drive you’re copying to is ready before you boot into Recovery. It should have plenty of space and be formatted in a way the Mac can write to, like APFS or Mac OS Extended. If it is NTFS, your Mac may only be able to read it without extra software, which is a bad surprise when you finally get the internal volume mounted.
I agree with the caution above about First Aid and recovery apps. If the disk appears and mounts, do the boring file copy first. Desktop, Documents, Pictures, Movies, Music, and any work folders you know about. After that, you can think about Disk Drill or other recovery tools if files are missing, but I wouldn’t make scanning software the first move when the volume is still readable. The safest recovery is the one that touches the failing drive the least.